
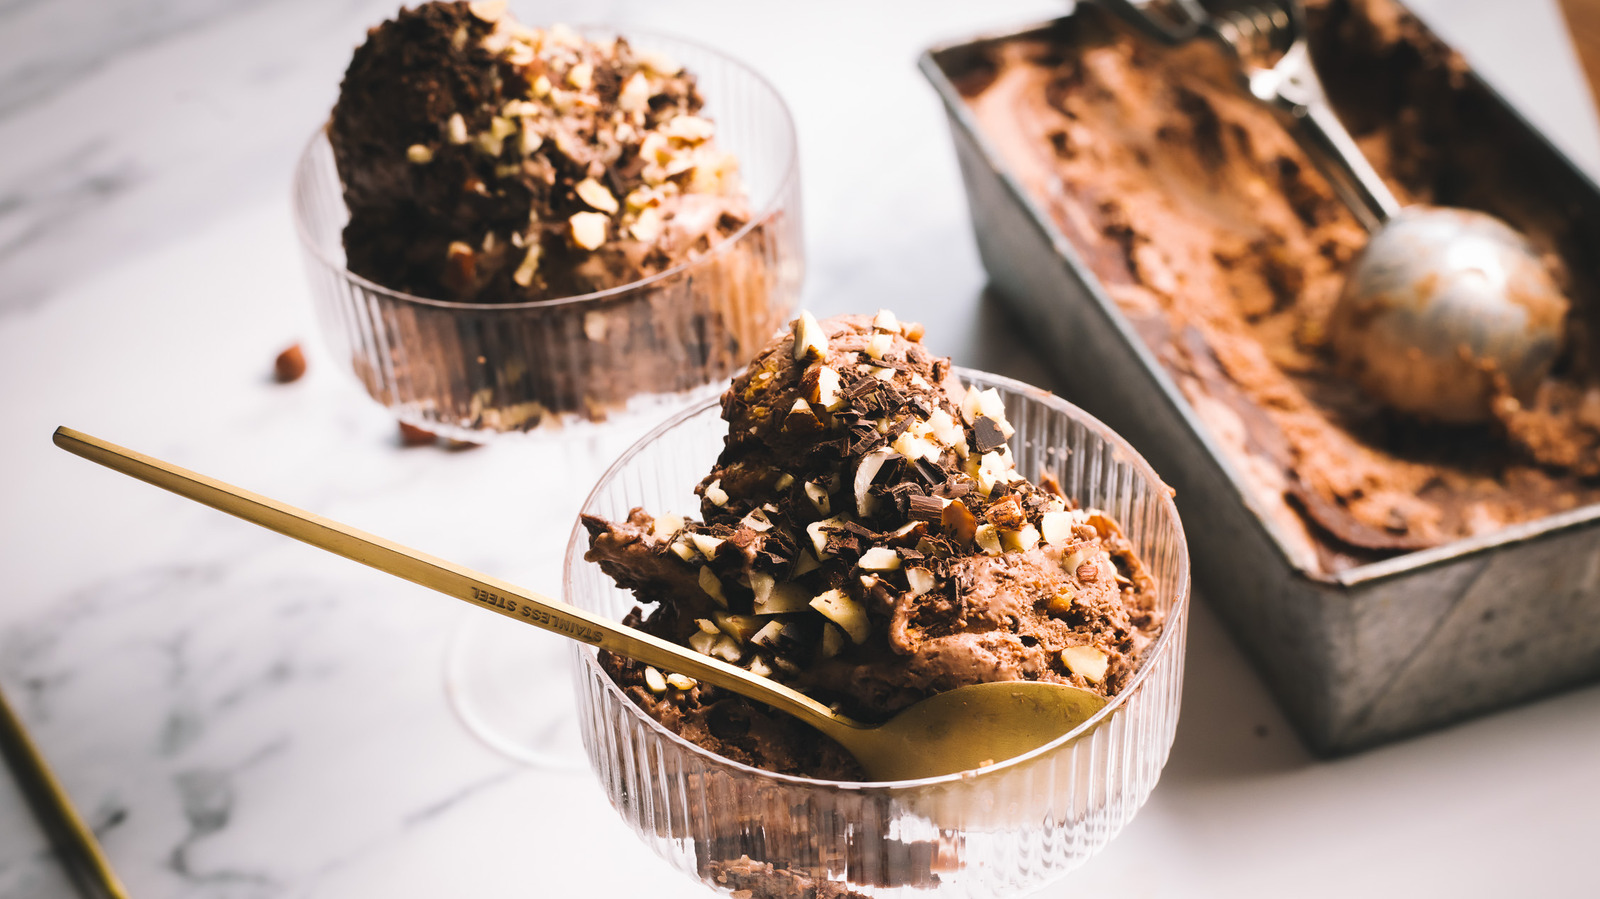
僅僅因為是自製的,並不意味著它自動就更好。不過這款自製 Nutella 巧克力冰淇淋,是能證明這個迷思的食譜。
身為一名食譜開發者與部落客,同時也是兩個孩子的媽媽,我通常會尋找能提供捷徑的食譜。希望在忙碌的平日晚餐時能節省時間,或是能善用那些原本會被堆在堆肥裡的剩料。但是這份冰淇淋?它几乎需要你完成你能想像的所有額外步驟(除了攪拌成形),但一旦品嚐過,你就會理解這些步驟為何都值得。我收到的讚美比我做過的幾乎所有其他冰淇淋都多,這可說是件不小的成就,因為我曾花兩天做過玉米冰淇淋,連奶油都和玉米穗一起浸泡過呢。
相反地,這道食譜要你先自製榛果奶油,把榛果自己烘烤、去皮並與所有配料研磨混合。就像整體食譜一樣,自製的榛果巧克力醬最終確實比市售的還要好吃,我們把它當作底層與旋渦層,做成不需要攪拌機也能成形的冰淇淋,整個口感充滿榛果與巧克力顆粒。整份作品宛如一場巧克力與堅果的瘋狂仙子之夢,但以最美好的方式呈現。唯一要留意的,是要妥善冷凍以保持巧克力的鮮豔色澤,避免長時間暴露於氧化中而失色。
Gather the ingredients for this homemade Nutella chocolate ice cream
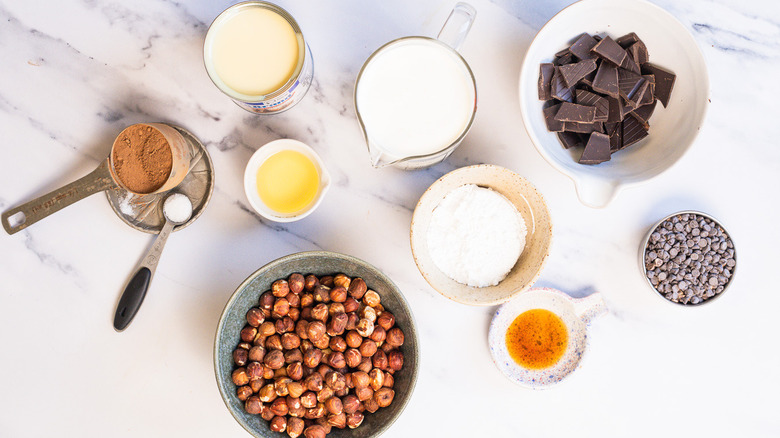
自製 Nutella 的材料包含整顆榛子、黑巧克力、荷蘭加工可可粉、糖粉、中性植物油、純香草萃取以及細海鹽。至於冰淇淋本身,則需要冷藏的重奶油、甜煉煉奶(煉乳)、荷蘭加工可可粉、純香草萃取、細海鹽、迷你巧克力豆、烤過的榛子,以及剛才自製的 Nutella 作為底層與旋渦層的來源。
Step 1: Preheat the oven
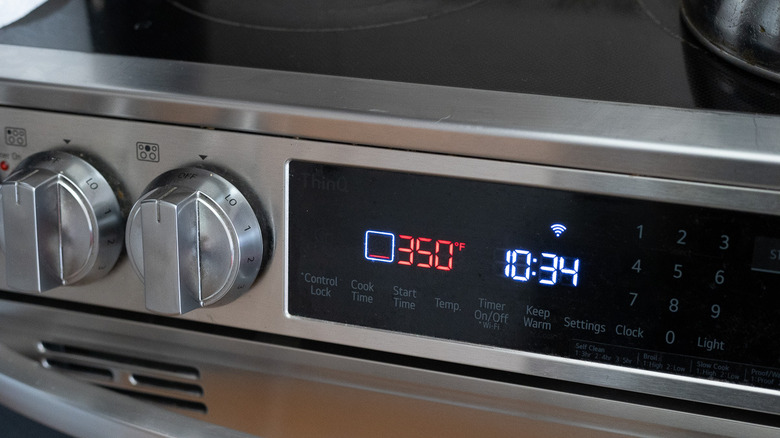
將烤箱預熱至華氏 350 度。
Step 2: Toast the hazelnuts
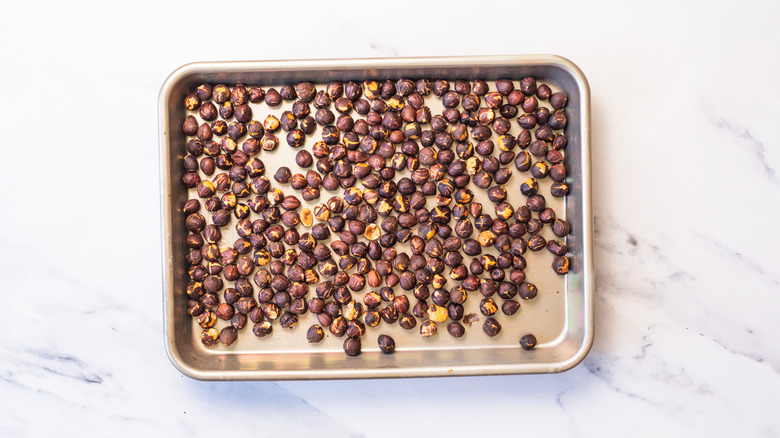
把榛子攤在烤盤上,烘烤 12–15 分鐘,直到果皮裂開且果仁呈金黃。
Step 3: Remove the skins
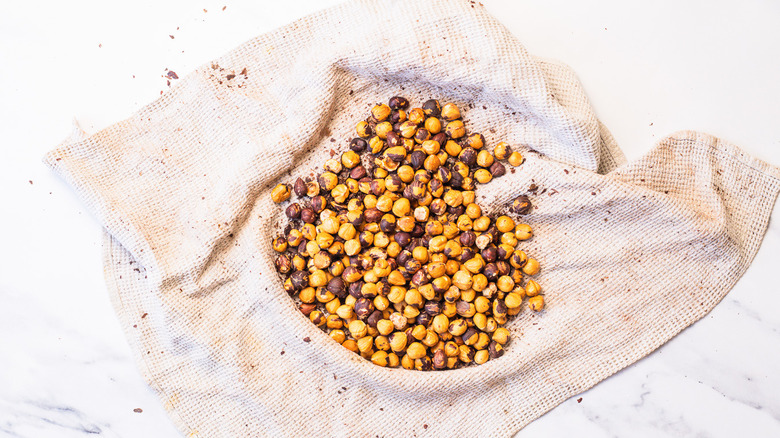
把榛子放入乾淨的廚房毛巾,用力搓揉,盡量去除表皮。完全冷卻後備用。
Step 4: Blend the hazelnuts
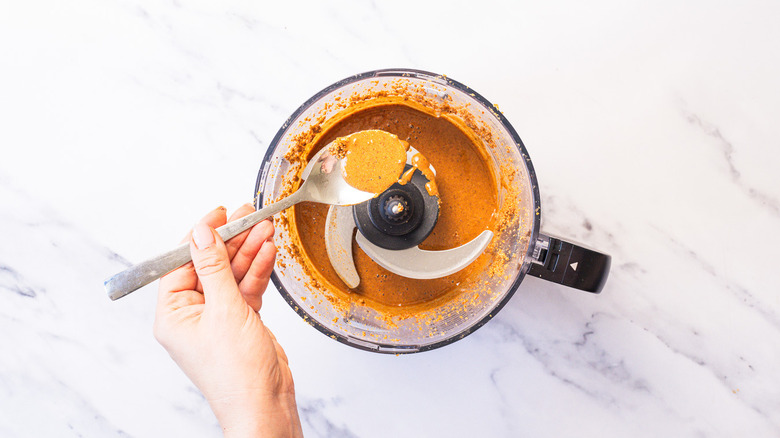
取 2 杯榛子放入料理機中,攪打 8–10 分鐘,經常刮下碗壁,直到它們變成滑順的堅果醬。
Step 5: Add the remaining Nutella ingredients
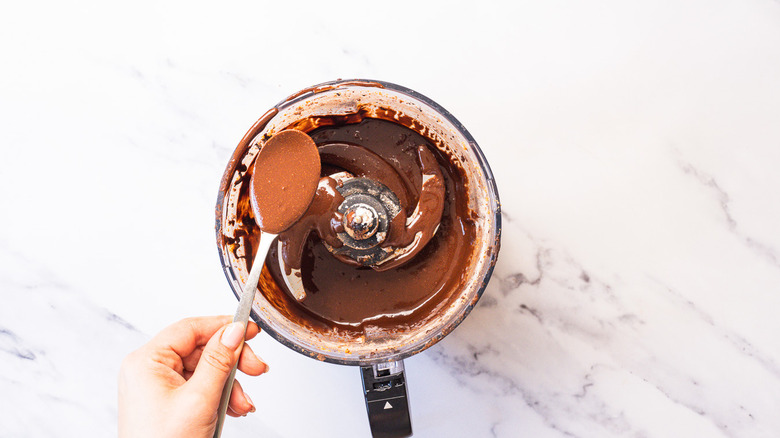
加入融化的巧克力、可可粉、糖粉、油、香草精與鹽。
Step 6: Process until smooth
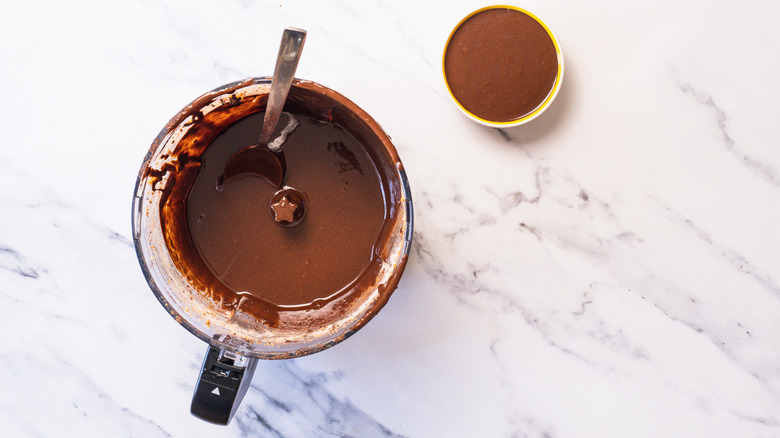
攪打至完全順滑且具有光澤。
Step 7: Divide the Nutella
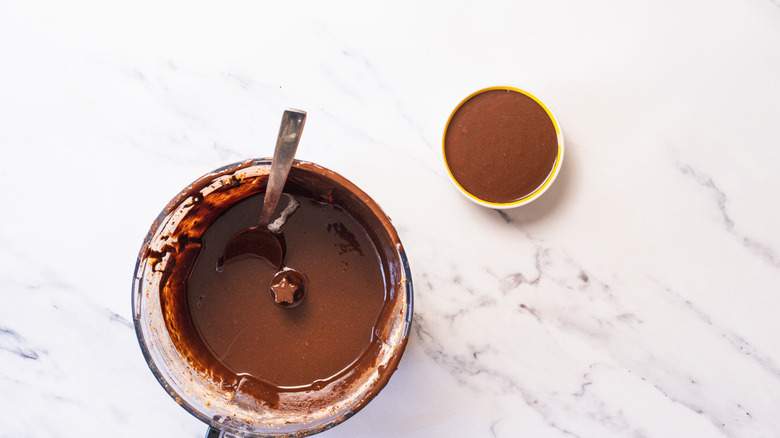
留出 ½ 杯 Nutella 作為冰淇淋基底,其餘的則保留作旋渦使用。
Step 8: Whip the heavy cream
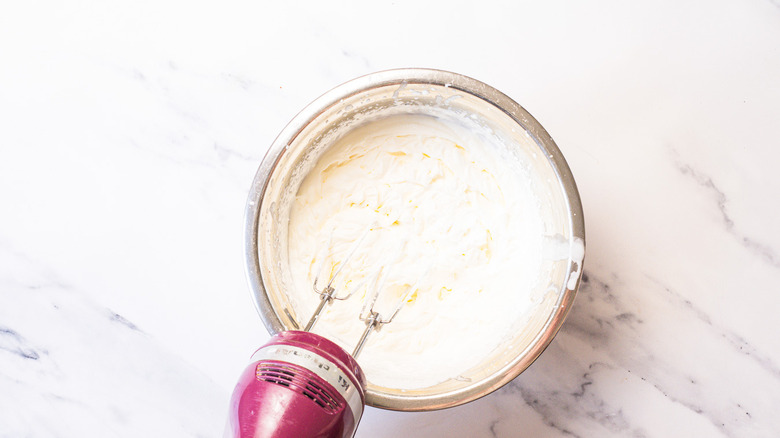
把冷藏的重奶油打至硬性尖峰發泡。
Step 9: Whisk the remaining ingredients
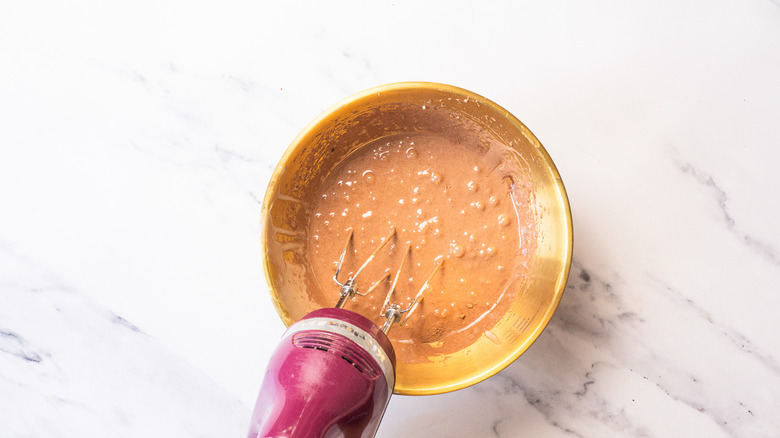
在另一個碗中,將煉乳、可可粉、香草與鹽攪拌至混合。
Step 10: Fold into the whipped cream
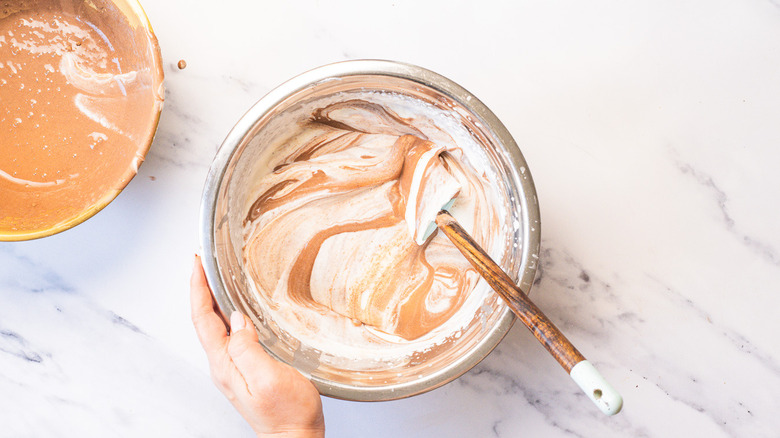
將煉乳混合物輕輕摺入打發的鮮奶油中,直到不再出現條紋為止。
Step 11: Fold in the mix-ins
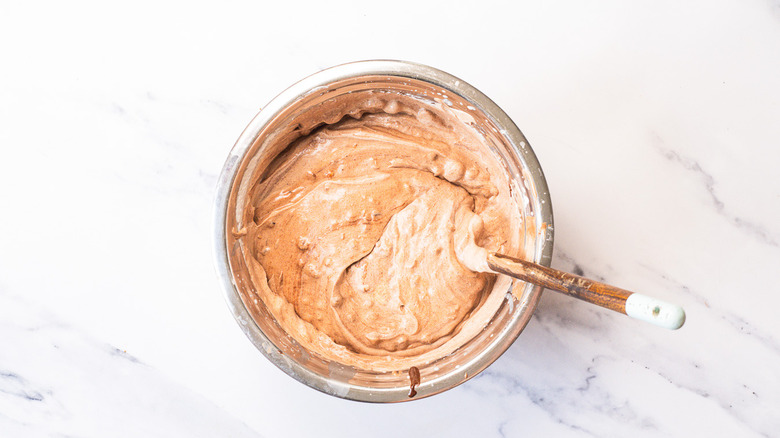
摺入迷你巧克力豆、保留的½ 杯切碎榛子,以及保留的½ 杯自製 Nutella。
Step 12: Swirl in the Nutella
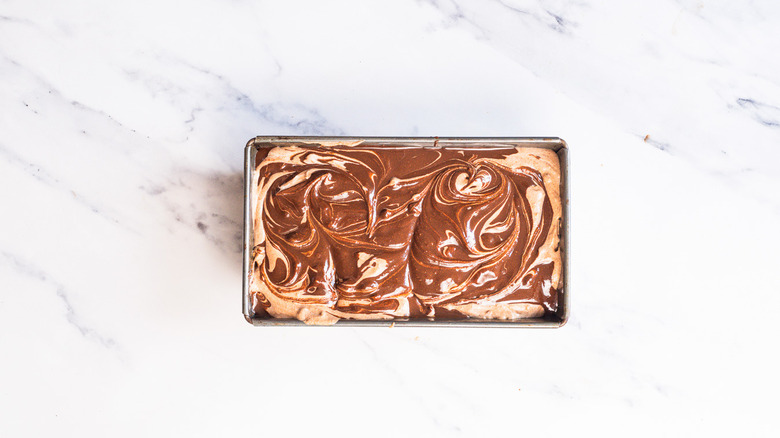
把一半冰淇淋混合物倒入一個 9×5 吋的長形模。於表面淋上剩餘的 Nutella,再用湯匙輕輕旋紋。將另一半冰淇淋混合物倒上,再次旋紋。
Step 13: Cover and seal the ice cream
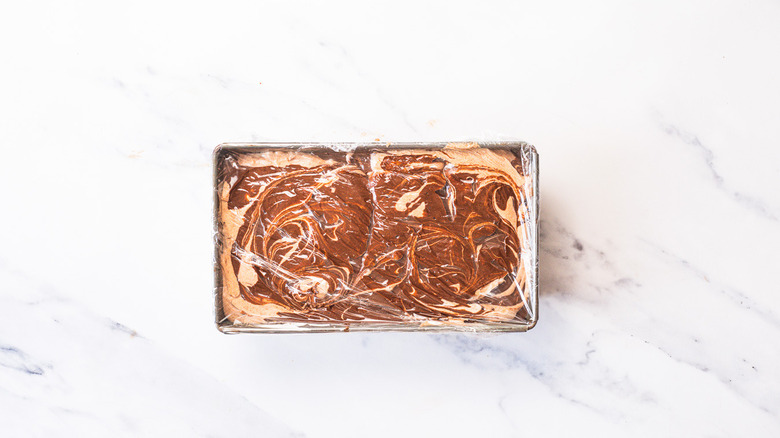
用保鮮膜直接貼覆在表面,密封覆蓋。
Step 14: Freeze until firm
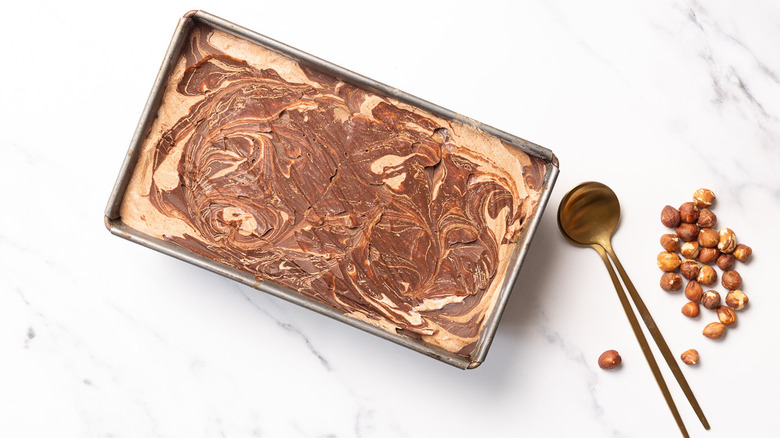
冷凍至少 6 小時,或過夜直到完全結硬。
Step 15: Serve the Nutella chocolate ice cream
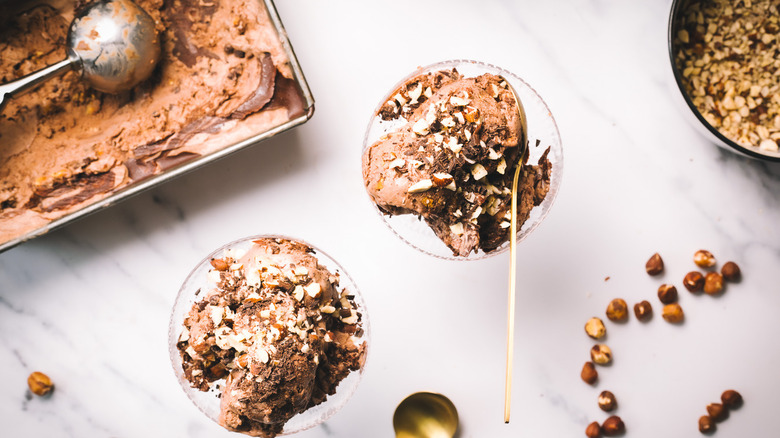
直接用湯匙從平底模中挖出享用自製 Nutella 巧克力冰淇淋。
What pairs with Nutella ice cream?
Homemade Nutella Chocolate Ice Cream Recipe
我們這款奶香柔滑、宛如夢境的免攪拌冰淇淋,以自製 Nutella 為基底,搭配巧克力豆與香脆榛子,絕對值得這番努力。
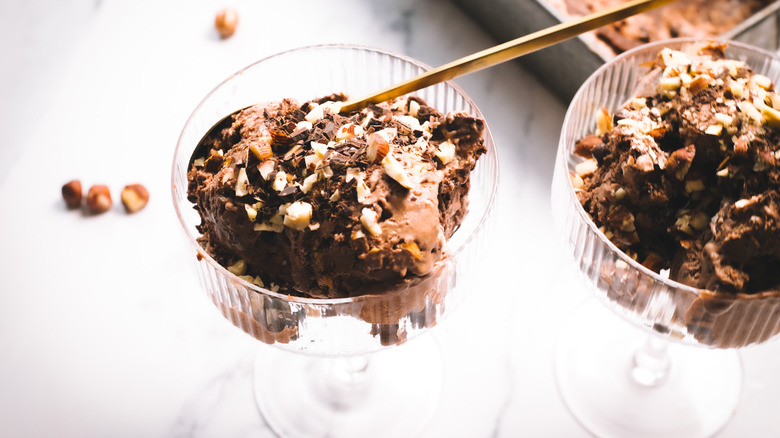
Total time: 8 hours, 30 minutes
- For the homemade Nutella
- 2 ½ cups whole hazelnuts, divided
- 4 ounces dark chocolate, melted
- ¼ cup Dutch-process cocoa powder
- ½ cup powdered sugar
- 2 tablespoons neutral vegetable oil
- 1 teaspoon pure vanilla extract
- ½ teaspoon fine sea salt
- For the ice cream
- 2 cups heavy cream, cold
- 1 (14-ounce) can sweetened condensed milk
- ¼ cup Dutch-process cocoa powder
- 1 teaspoon pure vanilla extract
- ¼ teaspoon fine sea salt
- ½ cup mini chocolate chips
- ½ cup roasted hazelnuts, roughly chopped
- ½ cup homemade Nutella, plus more for swirling
- Preheat the oven to 350 F.
- Spread the hazelnuts on a baking sheet and roast them for 12–15 minutes, until the skins are cracked and the nuts are golden.
- Transfer the nuts to a clean kitchen towel and rub vigorously to remove as much skin as possible. Cool completely.
- Transfer 2 cups of hazelnuts to a food processor and blend for 8–10 minutes, scraping down the sides frequently, until a smooth butter forms.
- Add the melted chocolate, cocoa powder, powdered sugar, oil, vanilla, and salt.
- Blend until completely smooth and glossy.
- Set aside ½ cup of Nutella for the ice cream base and reserve the rest for swirling.
- Whip the cold heavy cream in a large bowl until stiff peaks form.
- In a separate bowl, whisk together the condensed milk, cocoa powder, vanilla, and salt until combined.
- Gently fold the condensed milk mixture into the whipped cream until no streaks remain.
- Fold in the mini chocolate chips, reserved ½ cup of chopped hazelnuts, and reserved ½ cup of homemade Nutella.
- Pour half the ice cream mixture into a 9×5-inch loaf pan. Drop spoonfuls of the remaining Nutella over the surface and swirl with a knife. Pour the remaining ice cream mixture on top and swirl again.
- Cover tightly with plastic wrap pressed directly onto the surface.
- Freeze for at least 6 hours or overnight until firm.
- Serve the homemade Nutella chocolate ice cream scooped straight from the pan.
| Calories per Serving | 1,048 |
| Total Fat | 79.3 g |
| Saturated Fat | 30.3 g |
| Trans Fat | 0.8 g |
| Cholesterol | 86.6 mg |
| Total Carbohydrates | 76.6 g |
| Dietary Fiber | 10.3 g |
| Total Sugars | 61.0 g |
| Sodium | 318.6 mg |
| Protein | 17.9 g |
The information shown is Edamam’s estimate based on available ingredients and preparation. It should not be considered a substitute for a professional nutritionist’s advice.

Can you make this ice cream with store-bought Nutella?

You can definitely make this ice cream with store-bought Nutella, and it will turn out delicious. The recipe itself wouldn’t change much, with the ice cream base staying the same: just swap in a jar of Nutella in place of the homemade. It would also act as the swirl without any substitutions.
The main difference between our homemade hazelnut spread and the commercial version is going to be in flavor and sweetness. Store-bought chocolate hazelnut spread, of which there are many variations between brands, is much sweeter and has a more uniform, slightly waxy texture thanks to the palm oil and emulsifiers in it. In contrast, homemade Nutella has a rougher texture, much more pronounced dark chocolate and hazelnut flavors, and less sugar overall. I find that this works better against the condensed milk and whipped cream in the base of our ice cream.
With store-bought Nutella, the resulting ice cream will be noticeably sweeter and the hazelnut flavor more muted. I also found that the texture of commercial Nutella is less runny than our version, so you may want to warm your Nutella in the microwave for 10 seconds before using it for swirling.
What adaptations can you make to this Nutella ice cream?
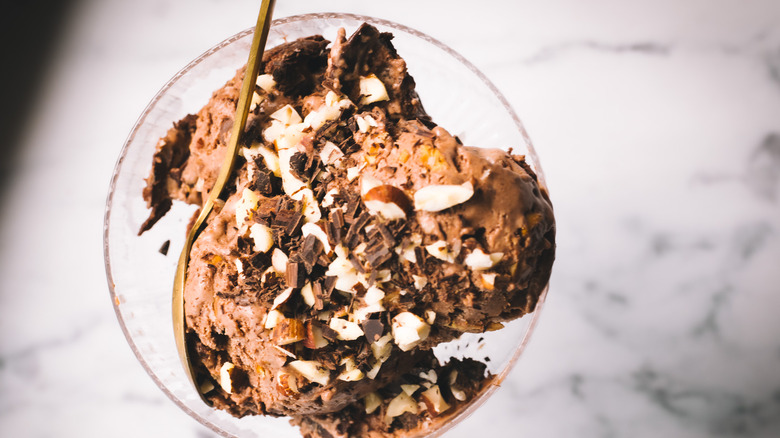
由於這道配料豐富、配件眾多,實驗的空間非常大。你可以把迷你巧克力豆換成切碎的黑巧克力、可可豆取代以增添苦甜脆感,或以太妃糖碎增加一抹焦糖風味,讓冰淇淋更像一塊巧克力條。這些變化能讓冰淇淋的口感更接近巧克力棒的滋味,正是這次大量增添物所追求的效果。
另外一個點子,是把華夫筒弄碎後拌入,然後在冷凍前混入,這會帶出一種蜂蜜般的脆感,與堅果相當搭配——但請記得它們會隨時間略為軟化。若想要更濃甜風味,可以在 Nutella 附近摻入一條鹽味焦糖帶,讓整體冰淇淋顯得更加奢華與甜美。
當然,這些改變都可能在口味的不同層面帶來提升,但有時你只是想讓它走向另一個方向。這時我最喜歡的做法就是把這個冰淇淋變成冰淇淋蛋糕。做法是:將碎 Oreos 或巧克力威化餅與融化的奶油混合,壓平在覆有羊皮紙的長方模底部。再把冰淇淋混合物倒在上面,按照配方的配料與漩渦步驟操作,最後用巧克力屑與更多碎榛子裝飾,讓外觀更美。之後整個冷凍至完全固化,用羊皮紙的懸垂部分提起模具,切成厚片切份盛盤,搭配剩餘的 Nutella 一同享用。這樣的變化能讓整份甜點呈現出另一種層次的風味與呈現。
喜歡嘗試新食譜嗎?加入我們的免費周刊電子郵件!