
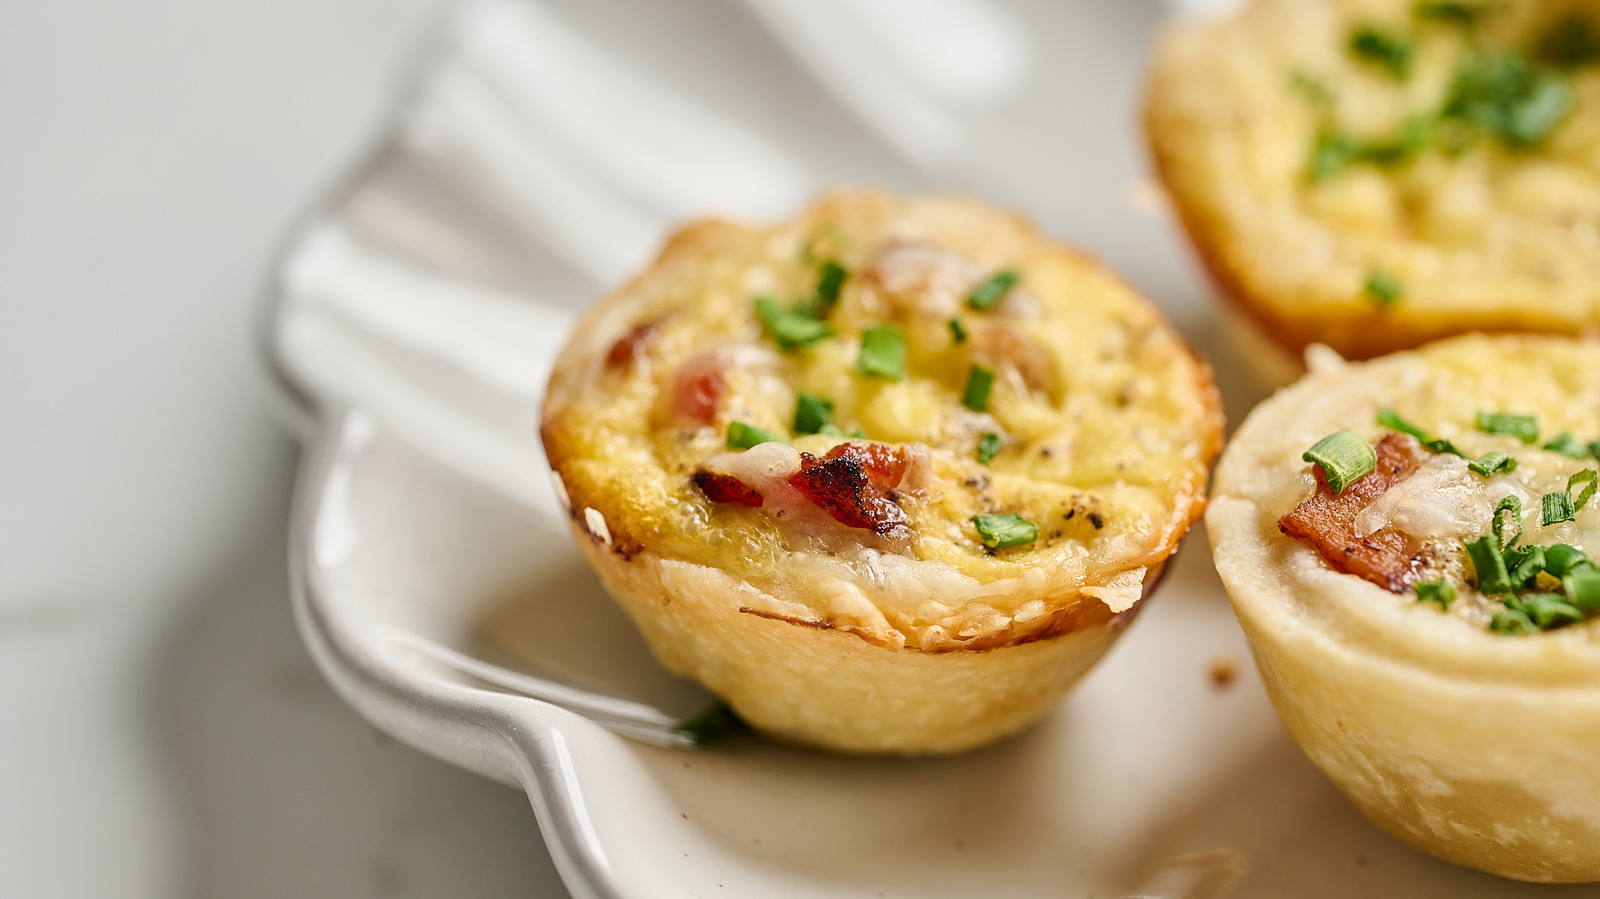
奶香濃郁、口感滑嫩且可客製化的鹹派,無論是當作早餐、早午餐或輕食都具備豐富的飽足感,端上桌也顯得典雅。不過,這也是為什麼鹹派在忙碌的清晨或需要盛大聚會時會顯得有些難以完成的原因,特別是需要從頭開始動手製作時。即便在緊急時刻把切片重新加熱或改成整盤烤的做法勉強可行,但鹹派仍需要用叉與刀,幾乎無法邊走邊吃。
為了同時滿足對鹹派的渴望與忙碌的早晨或聚會籌備需求,這道食譜把整個大派變成迷你的一口大小撻杯,內餡柔軟、蛋香濃郁,搭配經典的堅果香格魯耶爾起司與煙燻培根。就算是從零開始動手,這些迷你鹹派的準備時間也僅為原派的一半,且能產出足夠的迷你份量,足以支撐整個工作週,或作為派對中的前菜;小巧的尺寸與酥脆的餅皮讓賓客在寒暄時也能輕鬆啃食。以迷你、每口一份的方式呈現整個大派的優雅風格,這些鹹派杯成為在路上也能享用的美味早餐的完美選擇。
The ingredients needed to make mini bacon and gruyère quiche cups
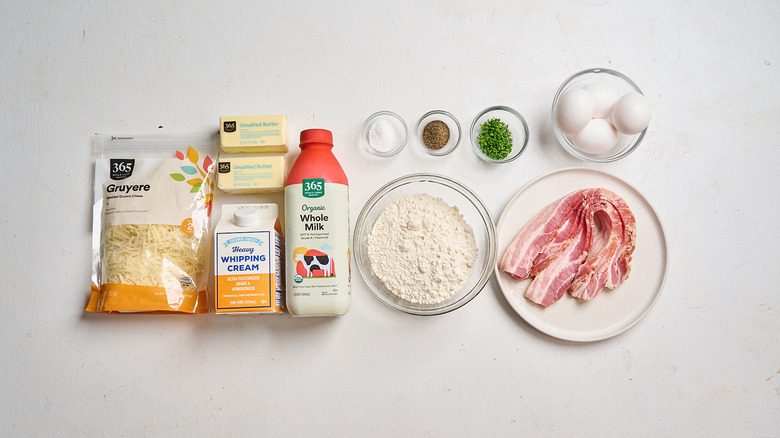
這道食譜包含自製餅皮,需要麵粉、鹽,以及冷藏、超級冷卻的奶油。餡料部分,您需要蛋、牛奶、鮮奶油、鹽、黑胡椒、格魯耶爾起司、培根與青蔥。若找不到格魯耶爾起司,可以改用風味相近、易融化且溫和的 Fontina 起司,或用莫札瑞拉、切達或蒙特雷傑克起司替代,這些都容易取得且價格較親民。
Step 1: Pulse the butter into the flour
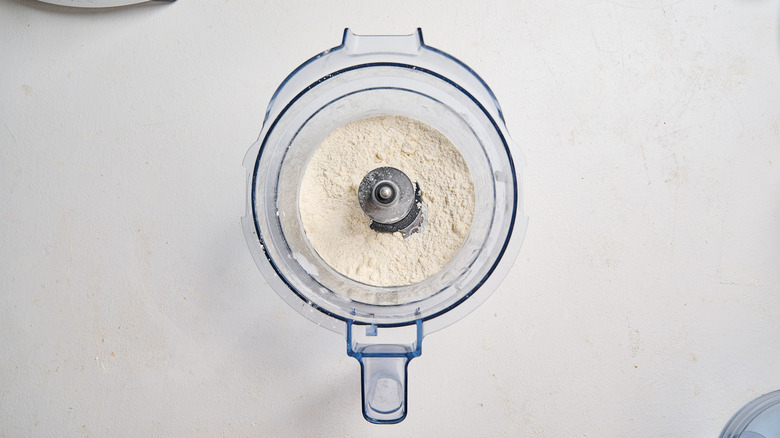
為了製作餅皮,將麵粉與鹽放入食品處理機中。加入冷硬奶油丁,攪打至成豌豆大小的顆粒,大約 10 次脈衝。
Step 2: Pulse into a dough ball
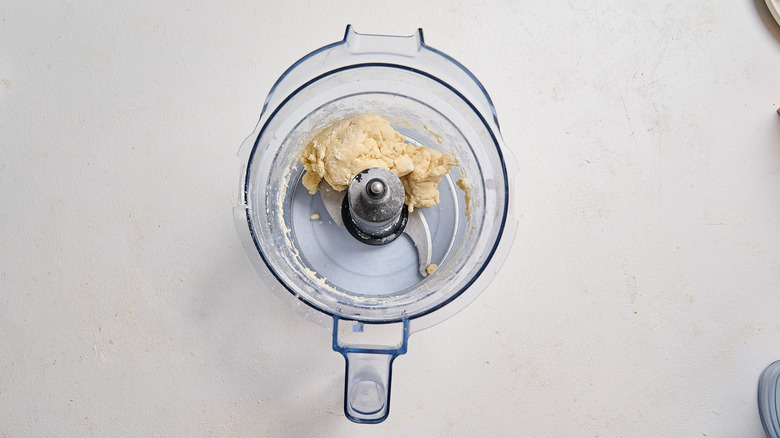
加入 ½ 杯冰塊冷水,繼續攪拌直到形成麵團球。
Step 3: Knead and chill
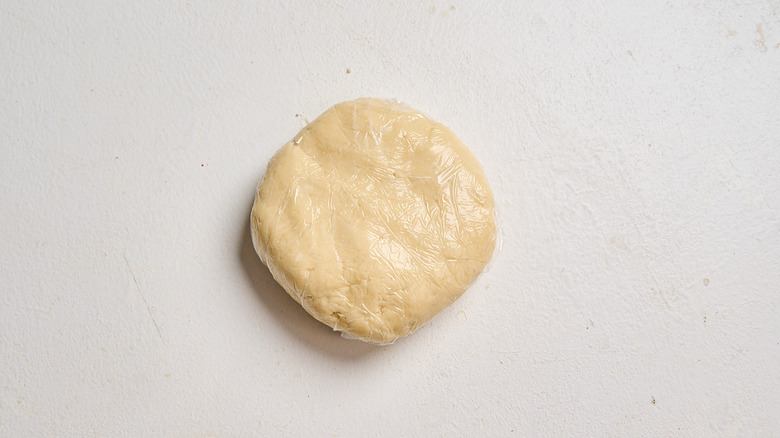
把麵團從食物處理機取出,輕輕揉成圓盤。冷藏 30 分鐘。
Step 4: Heat up a skillet
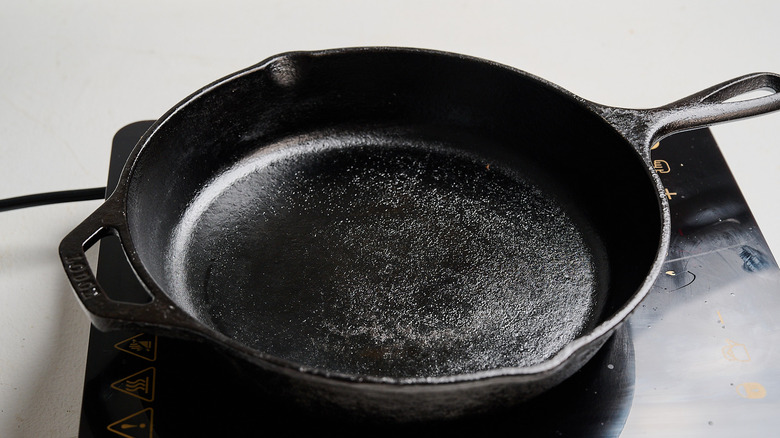
同時,在中火上加熱鑄鐵煎鍋。
Step 5: Cook the bacon until crispy
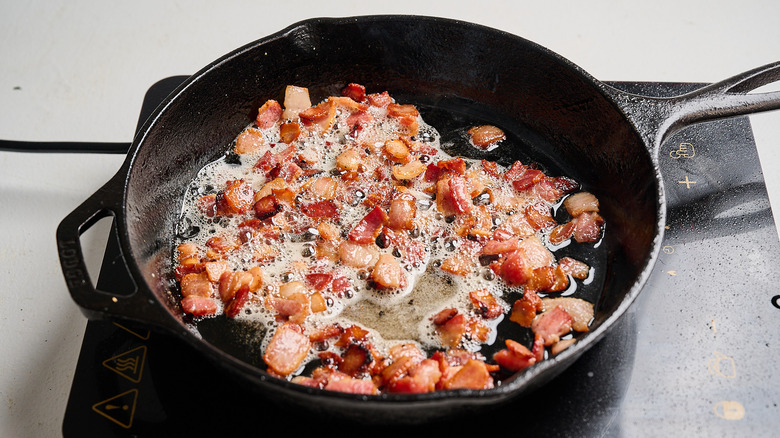
把培根丁加入,煎至酥脆,大約 5 分鐘。
Step 6: Drain the grease
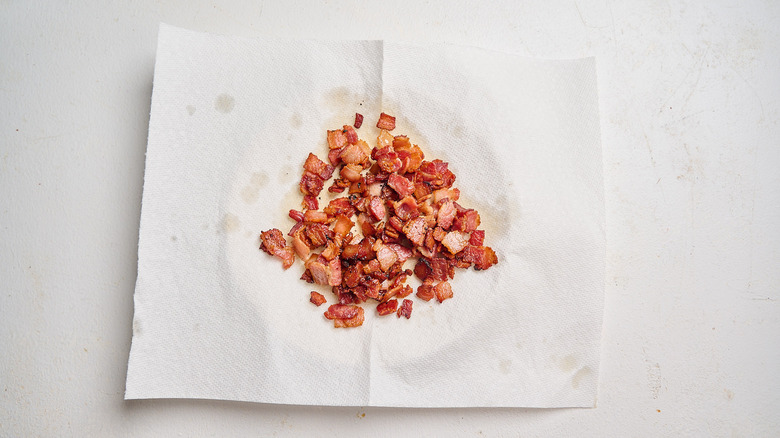
瀝乾油脂,放在鋪有廚房紙巾的盤子上。
Step 7: Whisk the filling together
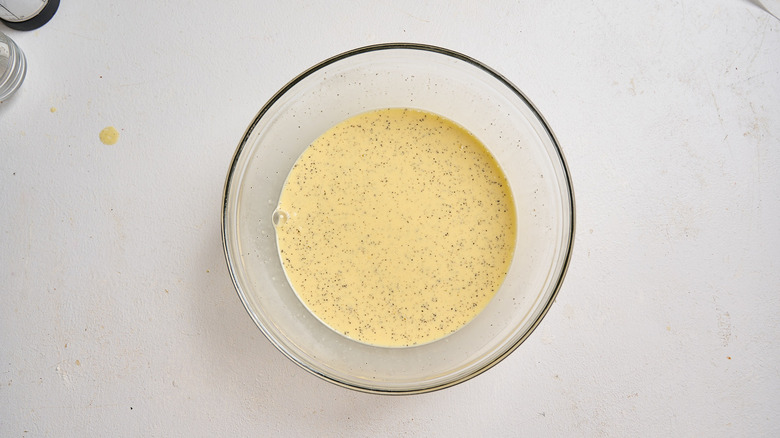
在大碗中,把雞蛋、牛奶、鮮奶油、鹽與黑胡椒攪打至順滑。
Step 8: Heat up the oven
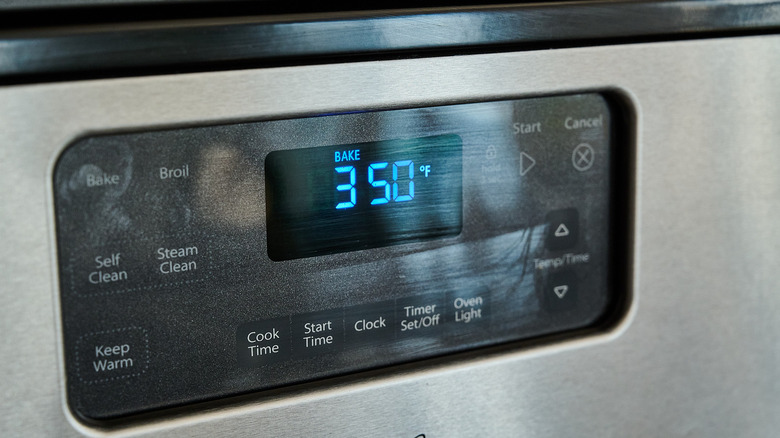
將烤箱預熱至華氏 350 度,並慷慨地在迷你鬆餅模具上噴上防黏噴霧。
Step 9: Roll out the dough
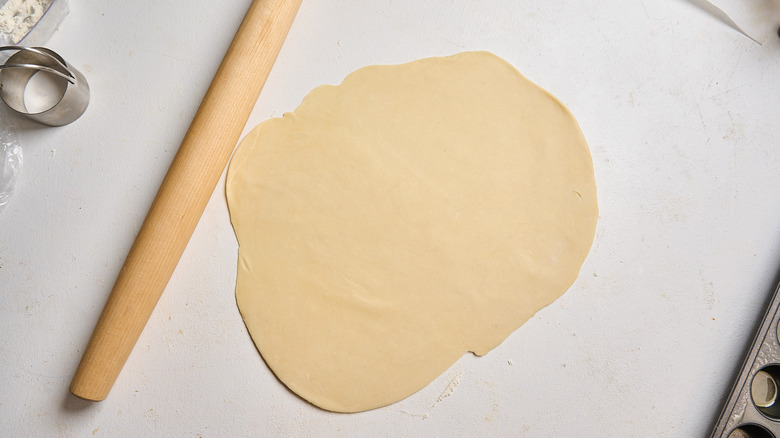
把麵團擀成約 1/8 英寸(約等於一角硬幣厚度)的厚度。
Step 10: Cut mini crusts from the dough
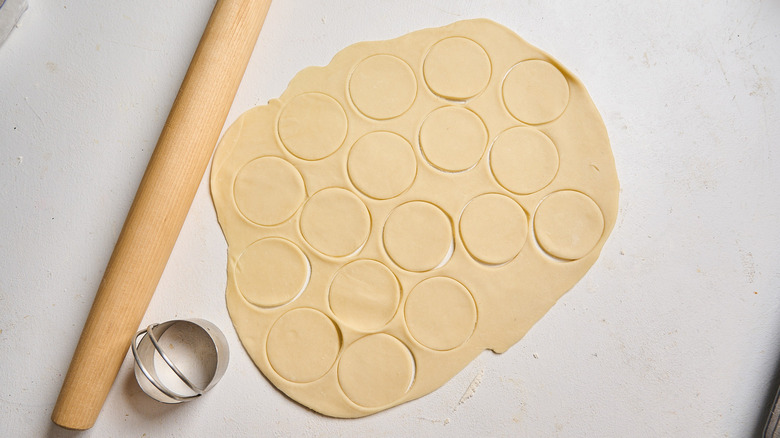
使用 3 吋圓形餅乾模,從麵團中切出 24 圈;剩餘的麵團請冷藏,第一批烤熟後再烤另一批。
Step 11: Press into the prepared pan
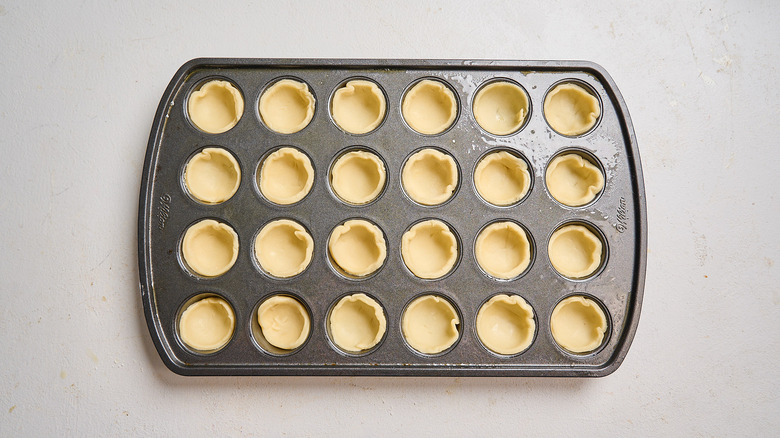
把餅皮壓入鬆餅模具中,形成撻杯。
Step 12: Divide the cheese and bacon into the cups
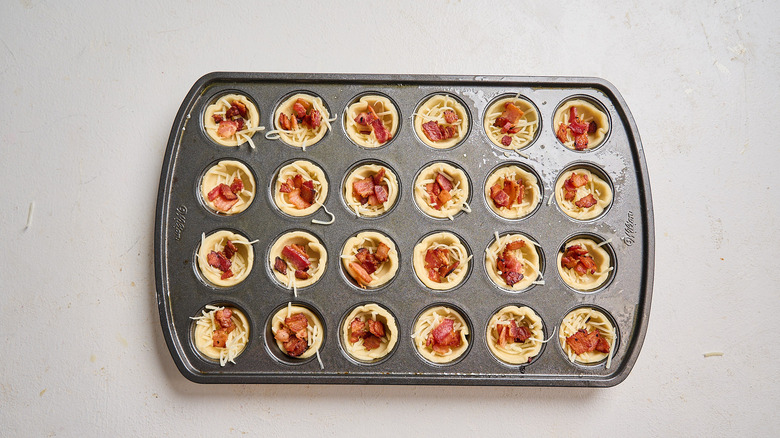
把培根與格魯耶爾起司分佈在各撻杯中,填充至大約半滿,或各放一把。留下一些格魯耶爾起司作為頂層。
Step 13: Pour the filling into each cup
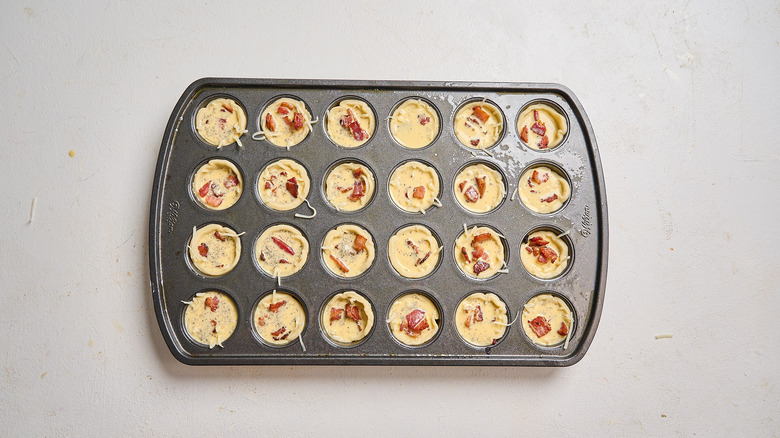
把蛋液倒入每個杯中,直到填滿。
Step 14: Top with cheese
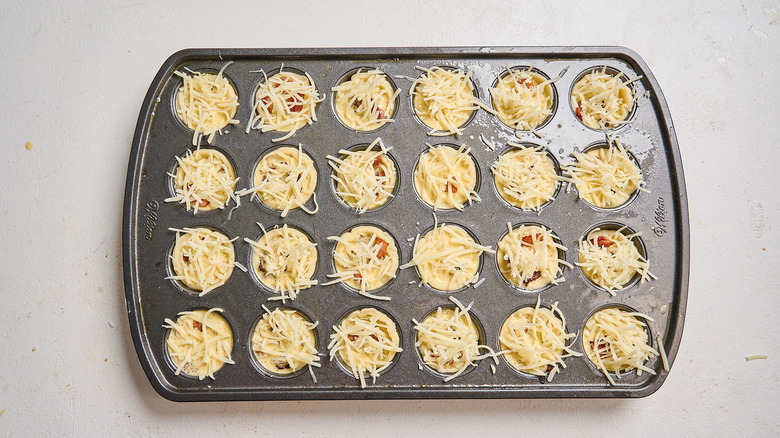
Step 15: Bake until just set
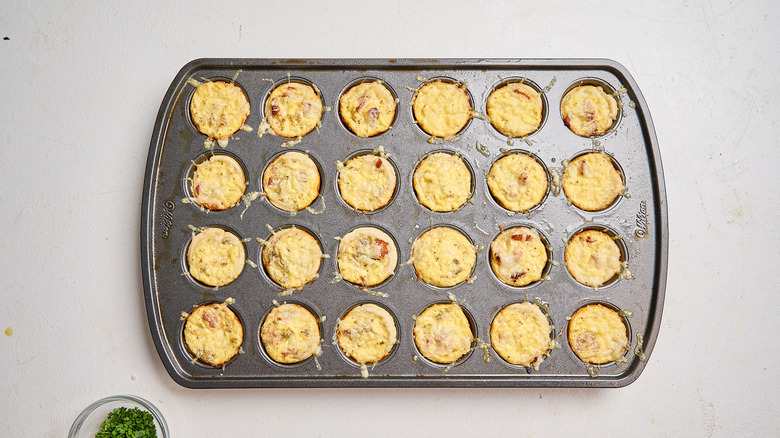
以 350°F 烤 25-30 分鐘,直到剛好凝固。若要做成 48 顆,請用剩餘的材料重複整個步驟。
Step 16: Cool and serve the mini quiche
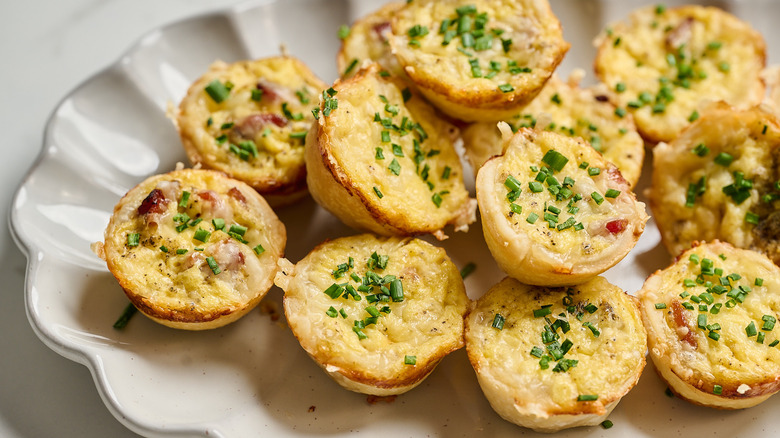
讓撻杯冷卻後再從模具中取出。食用時再灑上切碎的細香蔥裝飾即可。
What can I serve with mini quiche cups?
Mini Bacon and Gruyère Quiche Cups Recipe
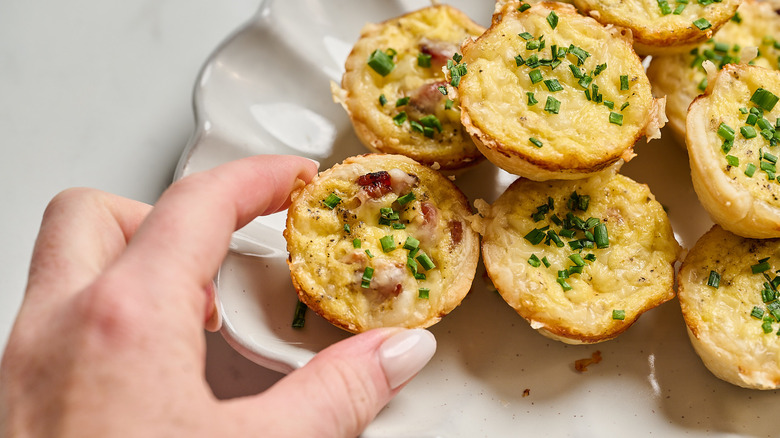
These cute mini bacon and Gruyère quiche cups make for a perfect for breakfast on-the-go, but they’re equally at home as part of a brunch spread.
- For the crusts
- 2 ½ cups all-purpose flour
- 1 teaspoon salt
- 16 tablespoons butter (2 sticks), chilled and cubed
- For the filling
- 6 strips bacon, diced
- 4 eggs
- ½ cup whole milk
- ½ cup heavy whipping cream
- ½ teaspoon salt
- ½ teaspoon pepper
- ½ cup shredded Gruyère cheese
- 2 tablespoons finely chopped chives
- To make the crust, add the flour and salt to a food processor. Add the butter cubes and pulse until chopped into pea-sized pieces, about 10 pulses.
- Add ½ cup ice-cold water and pulse until a ball of dough forms.
- Remove the dough from the food processor and gently knead it into a disc. Chill for 30 minutes.
- In the meantime, heat a cast iron skillet over medium heat.
- Add the bacon pieces and cook until crispy, about 5 minutes.
- Drain on a paper towel-lined plate.
- In a large bowl, whisk the eggs, milk, cream, salt, and pepper together until smooth.
- Preheat the oven to 350 F and spray a mini muffin tin generously with cooking spray.
- Roll the dough out to ⅛-inch thickness, or about the thickness of a quarter.
- Using a 3-inch round biscuit cutter or cookie cutter, cut 24 rounds out of the dough. Chill the remaining dough while the first batch bakes.
- Press into the muffin tin to form pie cups.
- Divide the bacon and Gruyère across the cups, filling just under halfway, or a pinch of each ingredient. Save some Gruyère for the top.
- Pour the egg mixture to fill each cup.
- Top with Gruyère.
- Bake for 25 to 30 minutes, or until just set. To make 48, repeat with the remaining ingredients.
- Let the cups cool before removing them from the muffin tin. Top with chopped chives to serve.
| Calories per Serving | 317 |
| Total Fat | 24.0 g |
| Saturated Fat | 13.1 g |
| Trans Fat | 0.1 g |
| Cholesterol | 103.8 mg |
| Total Carbohydrates | 18.0 g |
| Dietary Fiber | 0.6 g |
| Total Sugars | 0.9 g |
| Sodium | 199.2 mg |
| Protein | 7.3 g |
The information shown is Edamam’s estimate based on available ingredients and preparation. It should not be considered a substitute for a professional nutritionist’s advice.

Can I make crustless mini quiche?
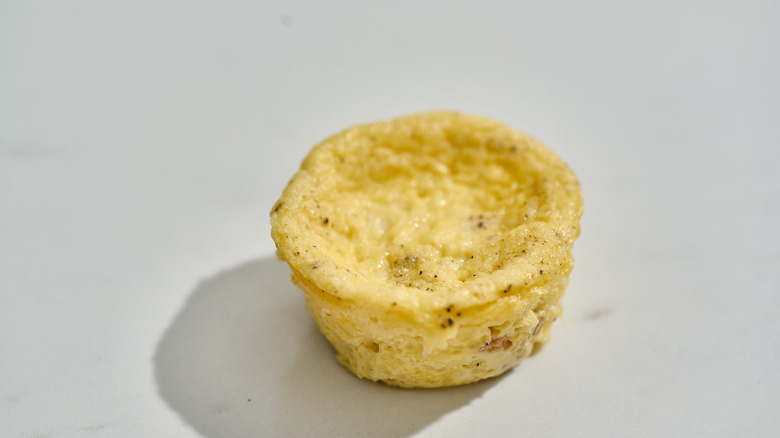
其中一種縮短此道料理時間的方法是使用現成的派皮,但另一種做法是完全省略派皮。本食譜實際上很適合做成無皮的撻,也就是說 basically 像星巴克流行的蛋塊。儘管比起我們偏愛的現成低溫真空蛋塊來說,這些蛋塊會稍顯濃郁,但它們是易於攜帶的無麩質選擇,適合方便的早餐。若要以這種方式準備,步驟幾乎與原本相同,但在製作無皮撻時,需留意幾個要點。
首先,務必把鬆餅模具噴塗得非常充分,以防蛋塊黏黏,然後按照指示準備餡料。與其說把麵皮填滿,倒不如先填入蛋液,接著再加入培根與起司。小心把模具放入烤箱,整個烘烤過程不要開門,直到蛋液剛好定型,約 15–20 分鐘。沒有麵皮的情況下,蛋液的熟成速度較快,烘烤時間可縮短到幾乎一半左右。
Can I parbake the crusts?
你可能會發現迷你鹹派的餅皮比整份派的餅皮輕盈、較不脆,當餡料充滿蛋液時,餅皮往往沒有機會好好變色變脆。這對於預先準備餐點可能不在意餅皮的顏色,但在某些場合你可能會想要更有光澤、酥脆的餅皮。你可以透過半預烤餅皮來實現,這只需要多幾分鐘,實際上也是縮短當天準備時間的另一種好方法。預烤的餅皮在冰箱中妥善覆蓋存放可保存長達 3 天。
在迷你鹹派上使用預烤餅皮方法有助於取得棕色且酥脆的餅皮,因為餅皮需要的時間較長才會與內餡同時完成。要用這個方法來處理迷你派,先把每個杯子的麵皮填好,然後用叉子的尖端在每個餅皮底部戳幾個小洞,這可以釋放蒸氣,防止麵團膨脹起來變得蓬鬆,這樣才能填入迷你杯中。將餅皮烤約 8 分鐘,直到剛好微微上色為止。在此期間請密切觀察:若有餅皮開始上升,請取出托盤讓餅皮回落,再多打幾個洞並再送回烤箱。