
We may receive a commission on purchases made from links.
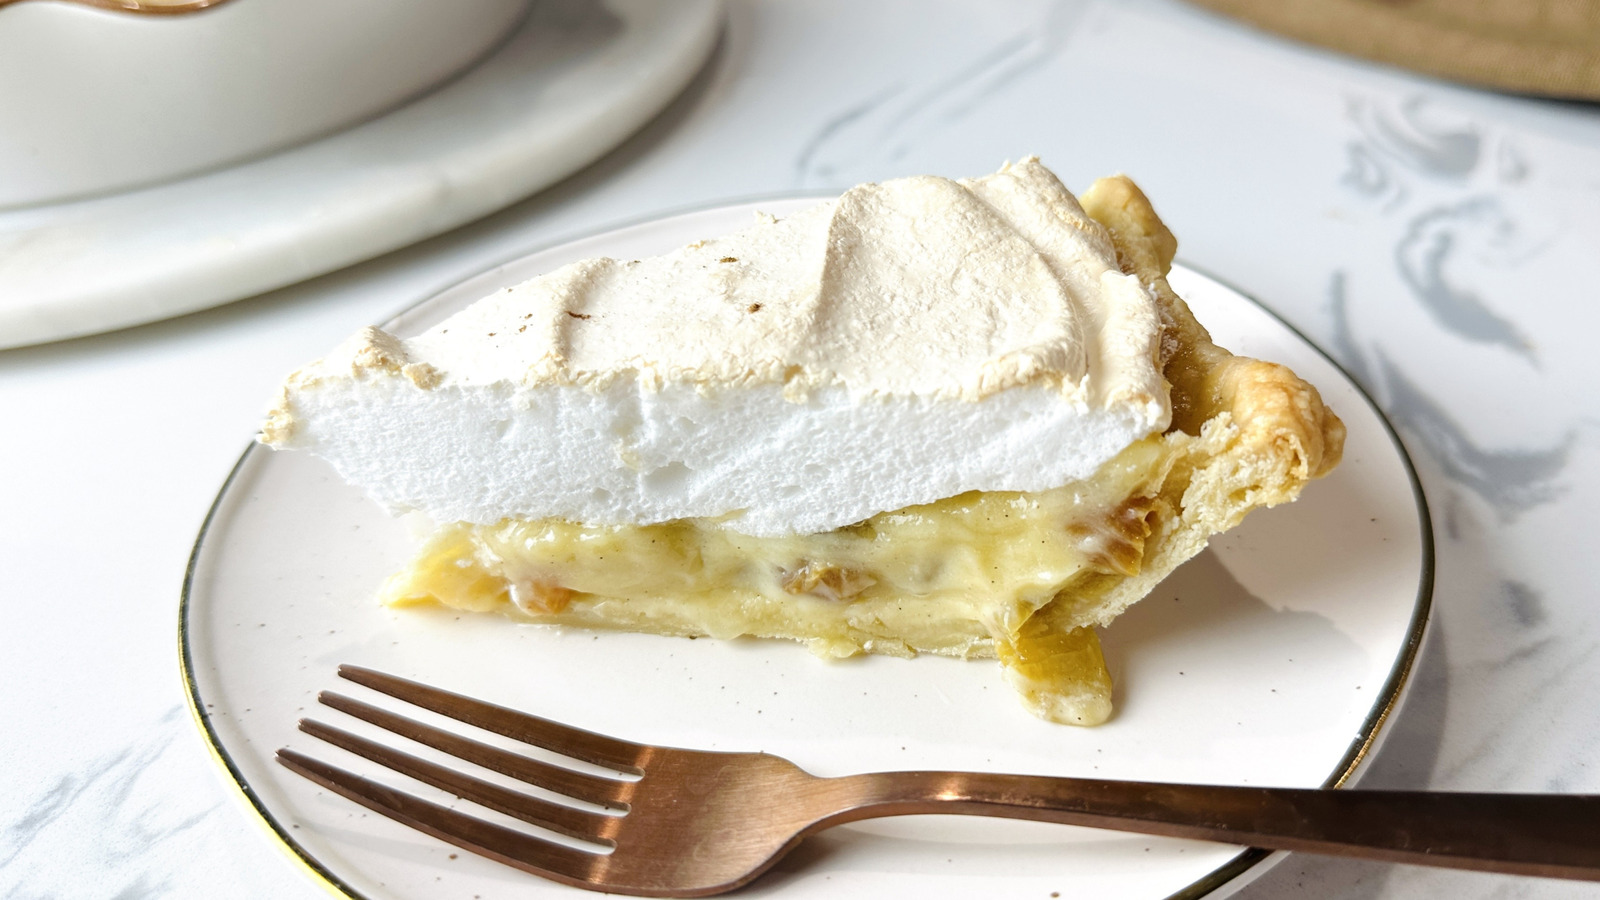
在多年里,我已經做過很多派(以及各類甜點),但從未有哪道甜點像這道酸奶油葡萄乾派那樣讓我感到如此驚喜。奶香濃郁、口感奢華、平衡感恰到好處,味道無可否認地美味,它正是那種復古派,我或許本不會因緣催促而去做,但最終卻非常高興自己動手做了它。
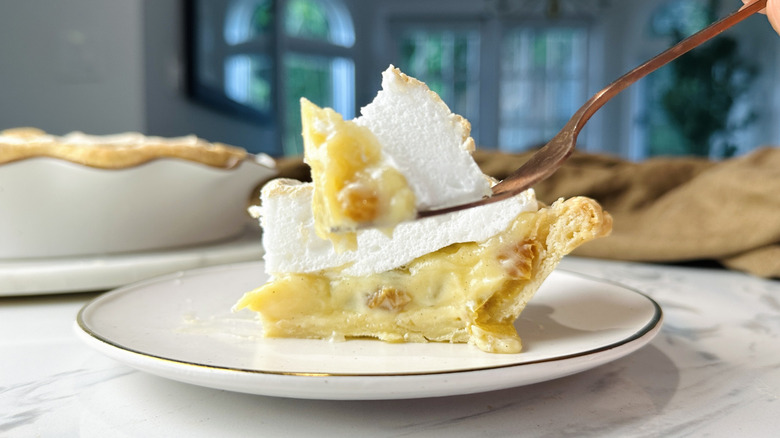
我得先承認,像“酸奶油葡萄乾派”這樣的名字,並不一定讓人對風味充滿信心。你或許會自然地想知道它會不會太甜、太酸或過於酸味偏重,會不會因為酸奶油而偏咸,或只是那種不太適合群眾的甜點。但這道珍品有著濃郁的奶油布丁式餡心,遍布甜葡萄乾,像是濃滑布丁與朗姆葡萄乾冰淇淋的混搭。酸奶油帶來恰到好處的豐富感與輕微的酸香,但最終與更甜美的元素完美融為一體,讓你無需擔心派的口味會過於像酸奶油。頂部以蛋白霜作為優雅的裝飾,為這道派畫上最後的點睛,帶來懷舊、安撫人心且出人意料的雅致甜點,提醒我們不要僅憑名字去評斷一道派的價值。
Gather the ingredients for vintage sour cream raisin pie
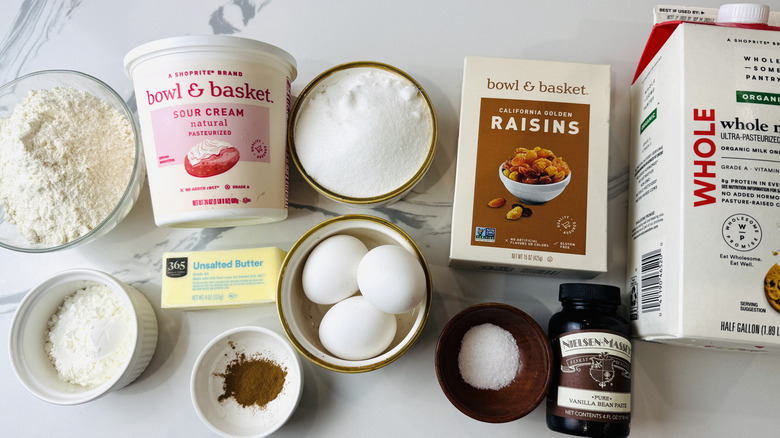
難怪這道老派派能經久不衰,因為大多數材料都是家中常備的。內餡需要的有金葡萄乾(整道菜的主角)、酸奶油、全脂牛奶、蛋黃、香草豆膏或香草精、砂糖、玉米澱粉、肉桂粉,以及 kosher salt(猶太鹽)。你也可以根據喜好用深色葡萄乾替代,肉桂也可換成肉豆蔻或南瓜派香料,營造秋季風格。葡萄乾在使用前先浸泡,以讓它膨脹,熱水即可完成,若喜歡還可以加一點波本酒以增添酒香。
自製派皮所需的材料有中筋麵粉、細砂糖、 kosher salt,以及無鹽奶油。務必確保奶油冰冷,這樣才能得到酥脆多層的派皮。最後,蛋白霜的裝飾需要蛋白、鹽和糖。
Step 1: Soak the raisins
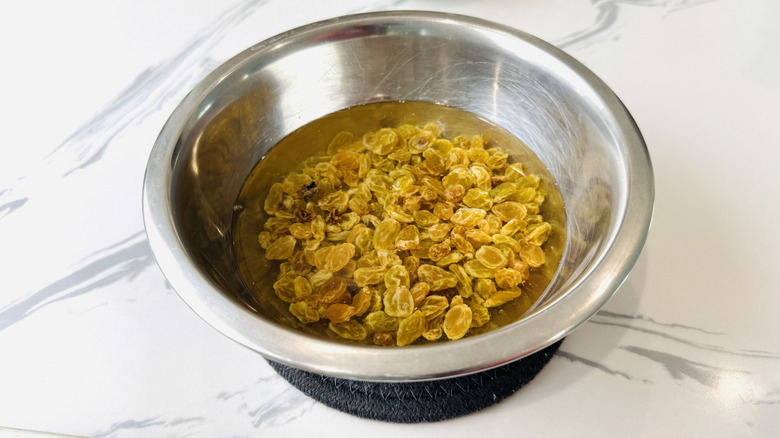
將葡萄乾放入碗中,用沸水覆蓋,淹沒約1英寸,若喜歡也可加入1大匙波本。浸泡同時你可以準備派皮。
Step 2: Begin the pie crust dough
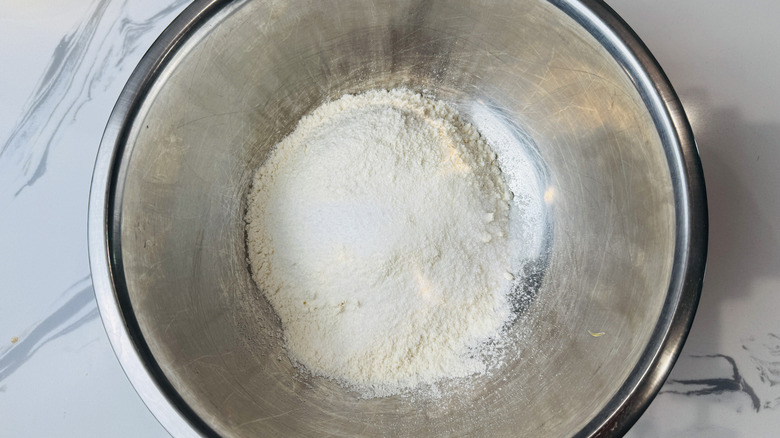
同時,開始準備派皮:在碗中把麵粉、糖和 kosher salt 混合均勻。
Step 3: Add the butter
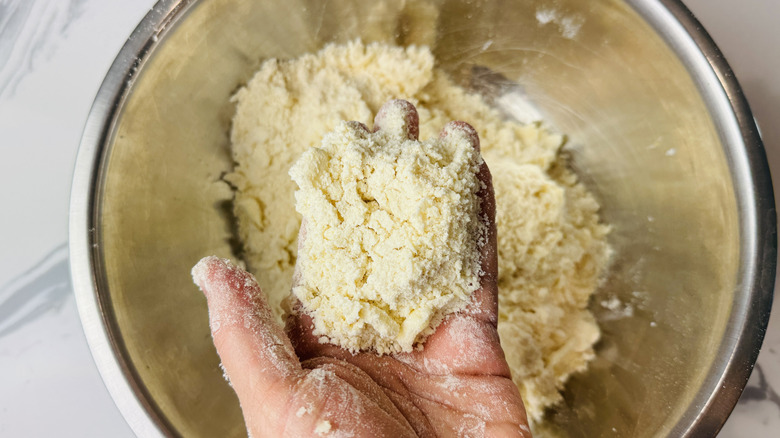
用指尖或擀麵杖將冷奶油拌入,直到只剩下豌籽般大小的顆粒。
Step 4: Mix in water
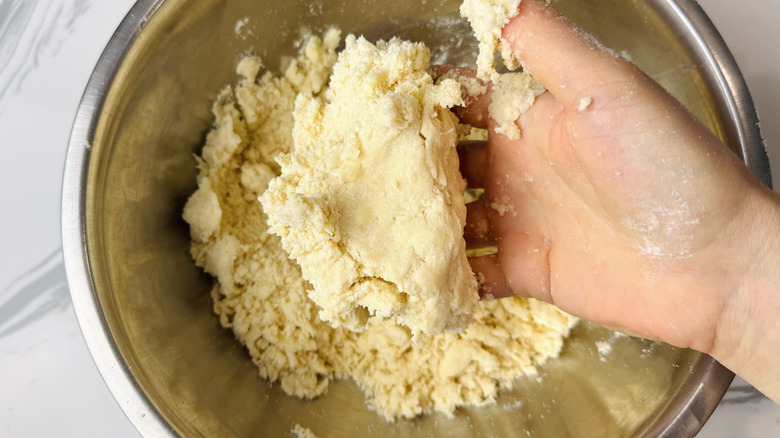
將3大匙冷水加入麵糰中,如有需要再加1大匙,直到麵糰能黏合成團。
Step 5: Chill the dough
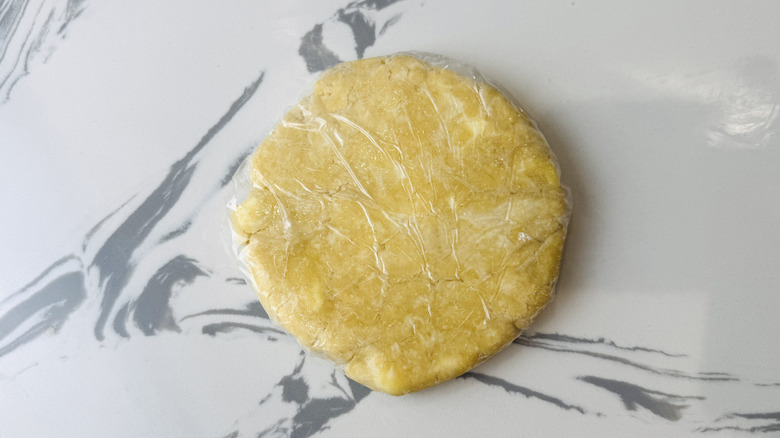
整形成圓盤狀,包起來冷藏30分鐘。
Step 6: Preheat the oven
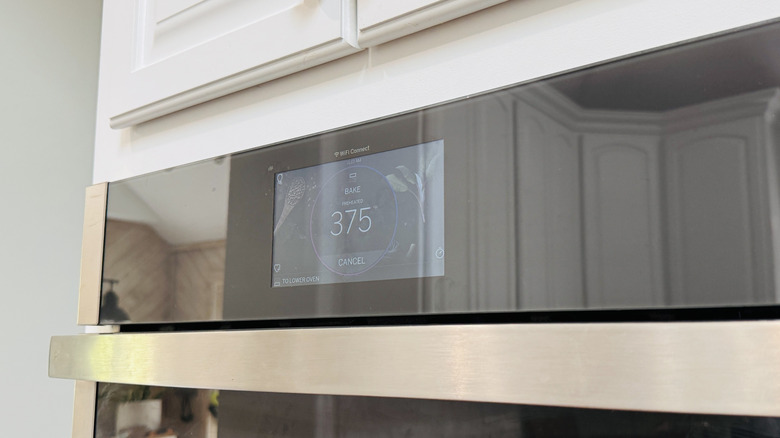
冷藏好的派皮一成型後,預熱烤箱至攝氏約190度(華氏375度)。
Step 7: Roll out the dough
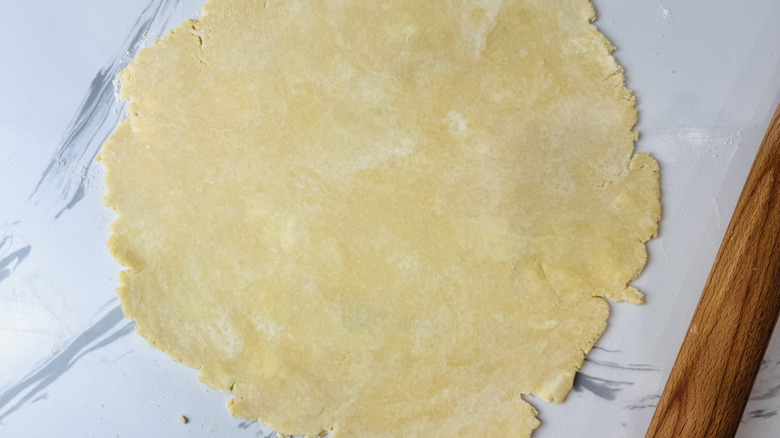
把冷藏好的麵團在略撒麵粉的桌面上擀成約1/8至1/4英吋厚度。
Step 8: Transfer dough to a pie plate
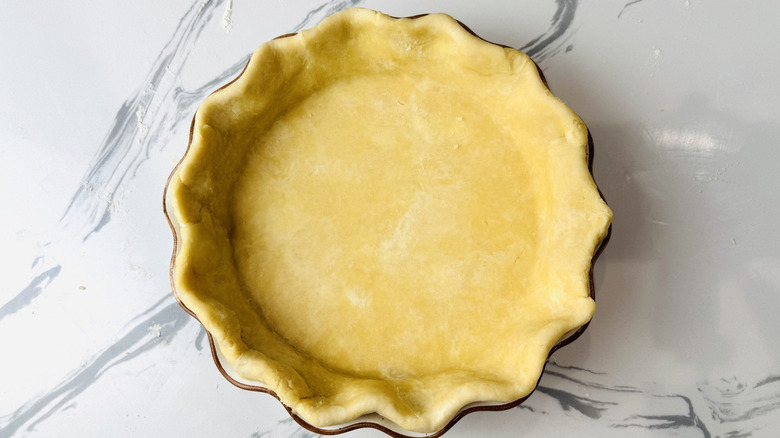
將麵皮按壓入標準派盤,然後修整邊緣並按喜好打花邊。
Step 9: Line crust with foil and fill with pie weights
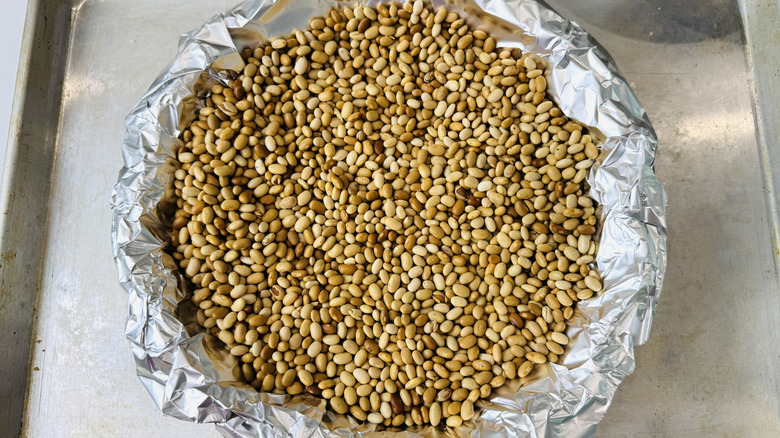
以鋁箔覆蓋派皮,半滿至覆以派重或乾豆。
Step 10: Bake the crust
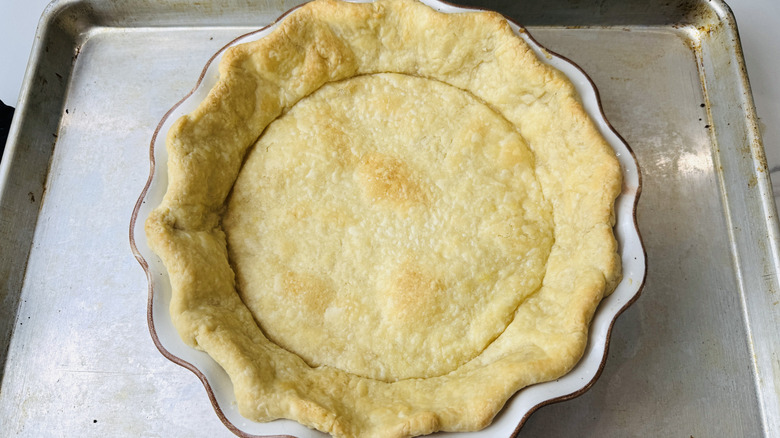
派皮烘烤約25分鐘,然後取出派重與鋁箔,繼續烘烤再10至15分鐘,直到表面呈現金黃色。
Step 11: Drain the raisins
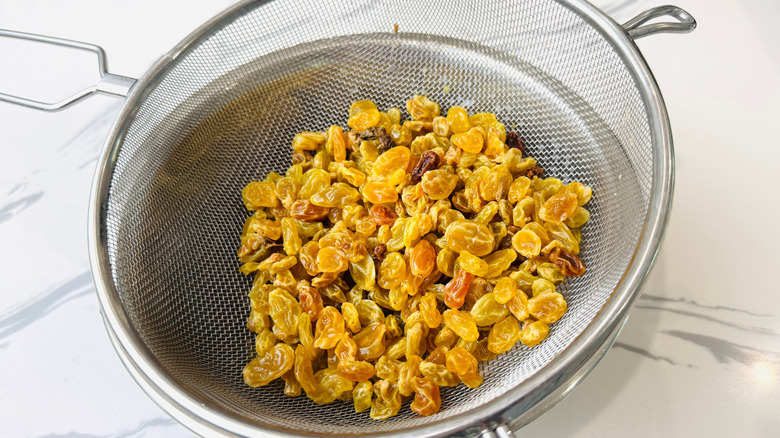
在派皮烘烤和冷卻的同時,開始做餡料。先徹底瀝乾葡萄乾。
Step 12: Simmer the filling ingredients
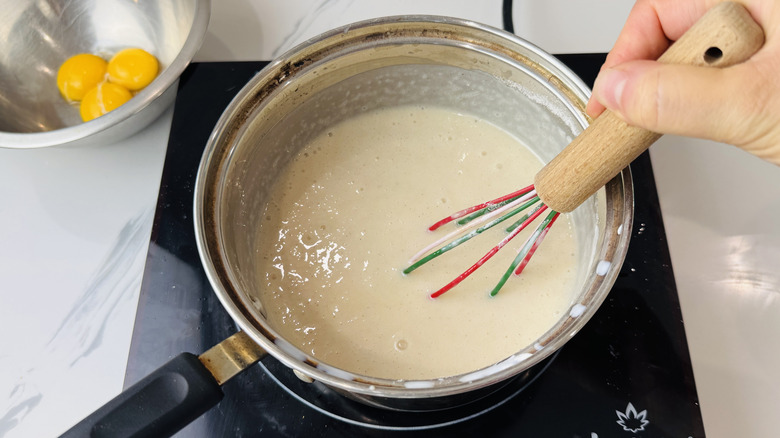
在中等小鍋中,將酸奶油、牛奶、香草、糖、玉米澱粉、肉桂與鹽混合,並用中小火加熱至蒸氣冒出。
Step 13: Temper the egg yolks
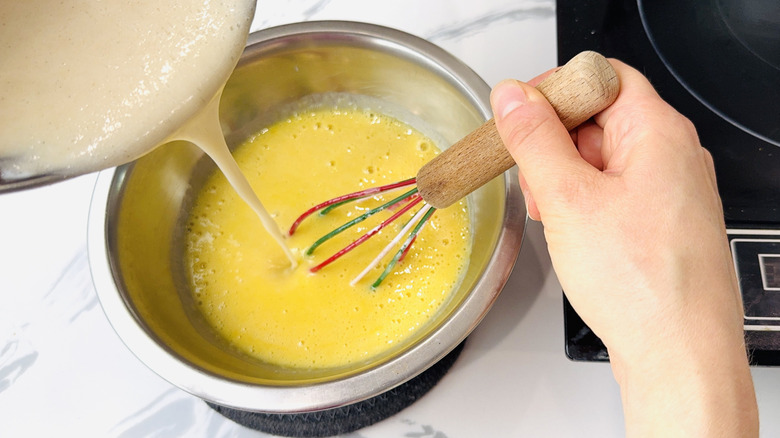
在小碗中打散蛋黃,然後緩慢地把熱牛奶混合物倒入蛋黃中,持續攪拌,直到大約1/3的液體被加入。
Step 14: Whisk egg mixture into pie filling
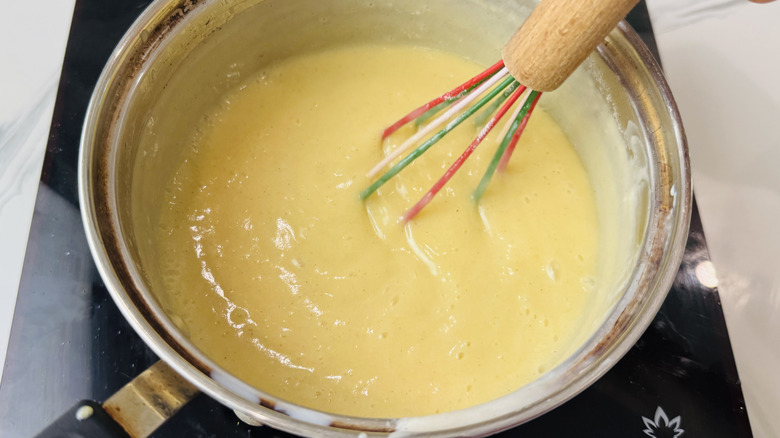
將蛋液混入盛放其餘牛奶混合物的鍋中,持續攪拌煮至濃稠且開始冒泡。
Step 15: Stir in the raisins and transfer filling to pie crust
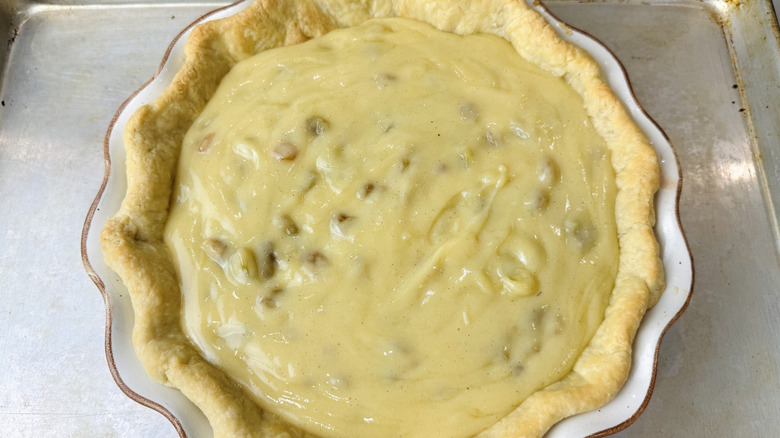
從火上移離,拌入葡萄乾,然後將混合物倒入派皮中。
Step 16: Prepare the meringue
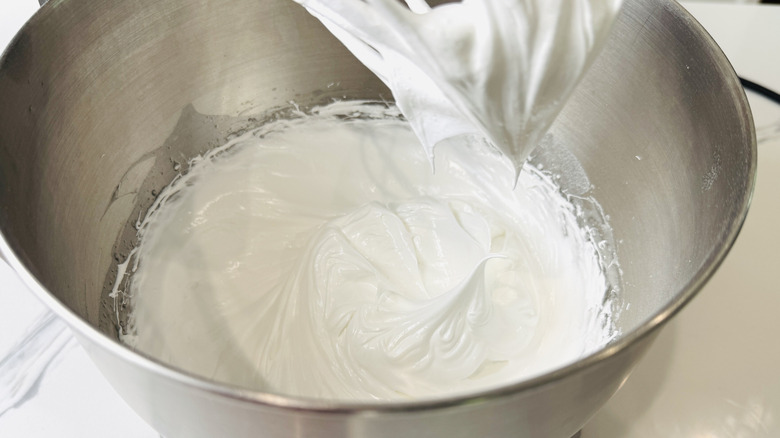
準備蛋白霜裝飾:將打蛋機配備攪打勺的碗,打至中硬性發泡,糖逐漸加入,邊打邊攪拌。
Step 17: Spread meringue out on top of pie
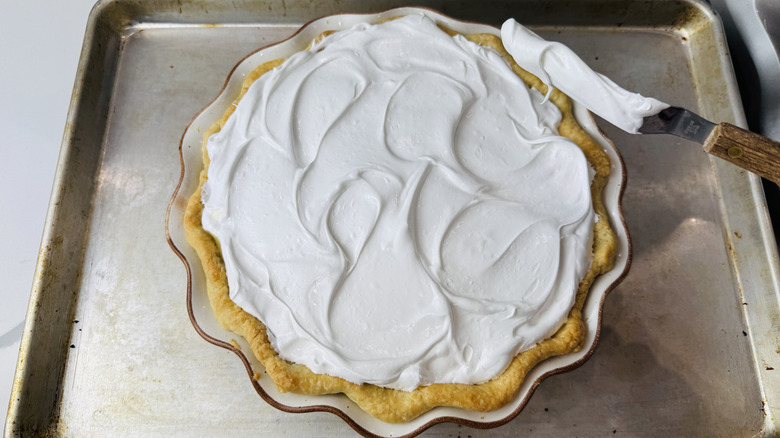
將蛋白霜均勻地鋪在派餡表面。
Step 18: Reduce oven temperature
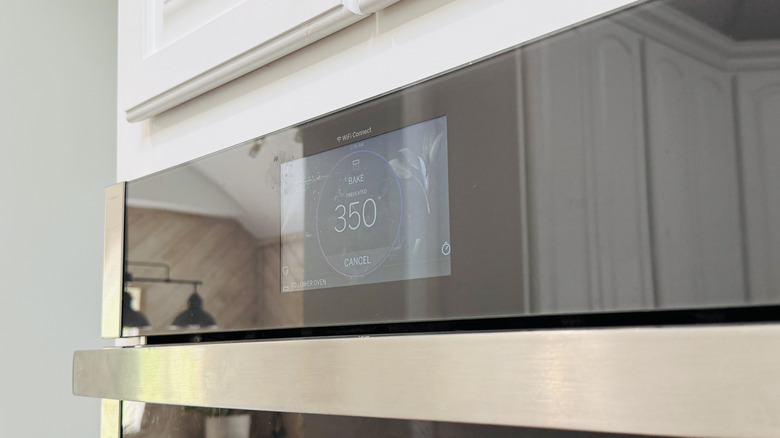
將烤箱溫度降至華氏350度(約攝氏175度)。
Step 19: Bake the pie
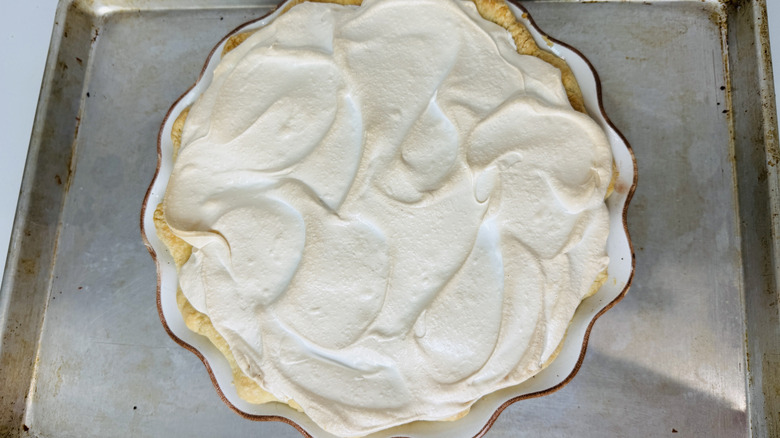
將派烤約10至15分鐘,直到表面呈現淺金色。
Step 20: Chill and serve the sour cream raisin pie
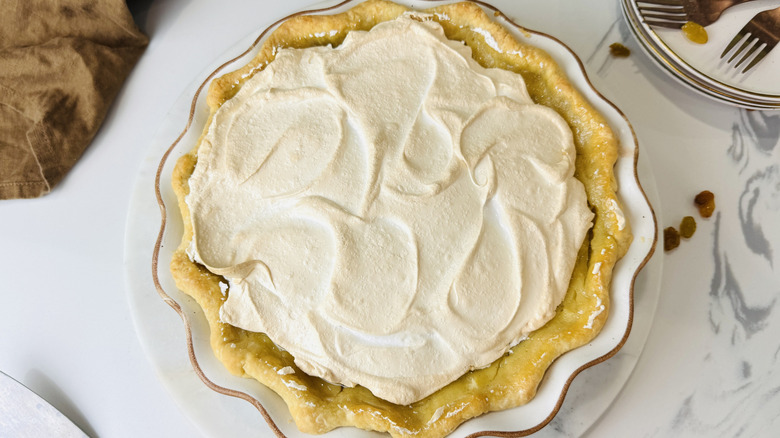
讓派在室溫放涼1小時,之後再冷藏至少4小時,方可切片享用。
What to serve with vintage sour cream raisin pie
Vintage Sour Cream Raisin Pie Recipe
這道經典的酸奶油葡萄乾派,以濃郁而微甜的布丁般餡心為特色,遍布金色葡萄乾,表面以蛋白霜作為裝飾。
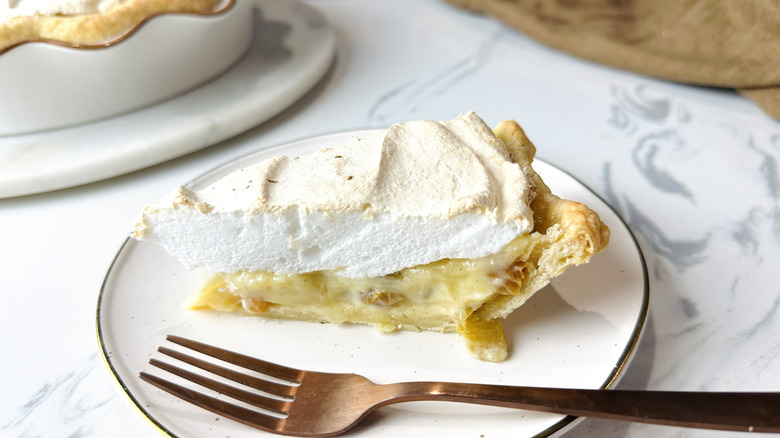
Total time: 7 hours, 20 minutes
- For the filling
- 1 ½ cups golden raisins
- 1 ½ cups sour cream
- ½ cup whole milk
- 2 teaspoons vanilla bean paste or extract
- 1 cup granulated sugar
- 3 tablespoons cornstarch (or all-purpose flour)
- ½ teaspoon ground cinnamon
- ½ teaspoon kosher salt
- 3 large egg yolks
- For the pie crust
- 1 ¼ cups all-purpose flour
- 2 teaspoons granulated sugar
- ½ teaspoon kosher salt
- ½ cup cold unsalted butter, cubed
- For the meringue topping
- 3 large egg whites
- 1 pinch kosher salt
- ¾ cup granulated sugar
- Place the raisins in a bowl and cover by 1 inch with boiling water and optional 1 tablespoon bourbon. Set aside to soak as you prepare the crust.
- Meanwhile, prepare the pie crust: In a bowl, stir to combine the flour, sugar, and kosher salt.
- Work the cold butter in with your fingertips or a pastry cutter until only pea-sized bits are visible.
- Mix 3 tablespoons of cold water into the dough, adding an additional 1 tablespoon if needed, until the dough holds together.
- Form into a disk, wrap, and refrigerate for 30 minutes.
- Once the pie dough is chilled, preheat the oven to 375 F.
- Roll the chilled dough out onto a lightly floured surface to ⅛- to ¼-inch thickness.
- Press the dough into a standard pie plate, then trim and crimp the edges as desired.
- Line the pie crust with foil, then fill halfway up with pie weights or dried beans.
- Bake the crust for 25 minutes, then remove weights and foil and bake for an additional 10 to 15 minutes, or until golden brown.
- As the crust bakes and cools, begin the filling. Start by draining the raisins thoroughly.
- In a medium pot, whisk to combine the sour cream, milk, vanilla, sugar, cornstarch, cinnamon, and salt. Heat over medium low heat until steaming.
- In a small bowl, whisk together the egg yolks. Slowly stream the hot milk mixture into the eggs, whisking constantly, until about ⅓ of the liquid has been added.
- Transfer the egg mixture to the pot with the rest of the milk mixture and continue to cook, whisking constantly, until thickened and bubbling.
- Remove from the heat and stir in raisins, then pour the mixture into the pie crust.
- Prepare the meringue topping: In the bowl of a stand mixer fitted with a whisk attachment, whip the egg whites and salt to medium-stiff peaks. Gradually add in the sugar as the eggs whip.
- Spread the meringue evenly over the pie filling.
- Reduce oven temperature to 350 F.
- Bake the pie for 10 to 15 minutes, or until the top is lightly browned.
- Cool the pie at room temperature for 1 hour, then chill at least 4 hours before serving.
| Calories per Serving | 376 |
| Total Fat | 14.9 g |
| Saturated Fat | 8.3 g |
| Trans Fat | 0.2 g |
| Cholesterol | 84.2 mg |
| Total Carbohydrates | 58.5 g |
| Dietary Fiber | 1.1 g |
| Total Sugars | 43.4 g |
| Sodium | 237.5 mg |
| Protein | 4.7 g |
The information shown is Edamam’s estimate based on available ingredients and preparation. It should not be considered a substitute for a professional nutritionist’s advice.

Why do I have to bake and chill the pie?
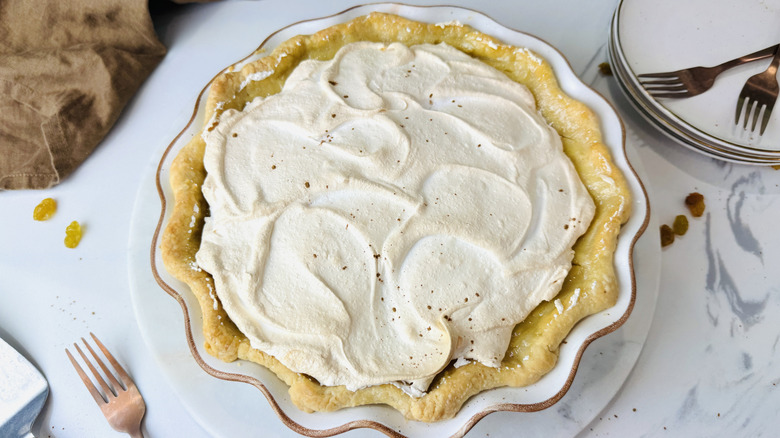
如果你是第一次做這道派,可能會想知道為什麼必須同時經過烘焙和冷藏,以及是否可以省略其中一個步驟。烘烤與冷藏的時間對於達到恰到好處的布丁狀口感都十分重要,雖然看起來有些繁瑣,但必須從頭到尾走完這些步驟。餡料在倒入派皮前大多數都會煮熟,但表面的蛋白霜就不一定。透過烘焙可以讓內餡再度凝固得更穩定,同時讓表面的蛋白霜烤得美麗的金黃並確保食用安全。
冷藏派在烘烤完成後再冷卻,能讓餡料有足夠的時間完全設定,切片時更能整齊地取出。讓它在室溫慢慢降溫再放進冰箱,能避免表面出現凝結水珠,並避免蛋白霜因溫差而變形。若想讓整個冷藏階段顯得不那麼漫長,可以在傍晚時就完成烘焙,讓它在整夜中慢慢冷卻。這樣的安排也更方便隔日上桌。
What are some tips for making and blind baking a pie crust?
在準備派皮時,將麵團壓成圓盤狀以冷藏,能使脂肪(也就是奶油)保持低溫,幫助烤出層次分明、酥脆的派皮。冷藏也有助於讓麵筋休息,避免攤開與烘烤時縮小。派重在此階段也扮演重要角色,它能防止在盲烤時派皮膨脹或收縮。你可以使用傳統的派重,乾豆也同樣有效。
盲烤皮分為兩個階段。初次放入烤箱時,內部帶著派重,但此時並非終點。中途取出派重,讓派皮在無重的狀態下再烤一段時間,這是為了確保底部與邊緣均勻上色。由於在內餡加入後,你還需要再烤10至15分鐘,因此盲烤階段結束時,派皮必須已經完全熟透且呈現漂亮的金棕色。否則,派皮烤好時可能不夠酥脆美味。
Love trying new recipes? Join our free weekly newsletter!