
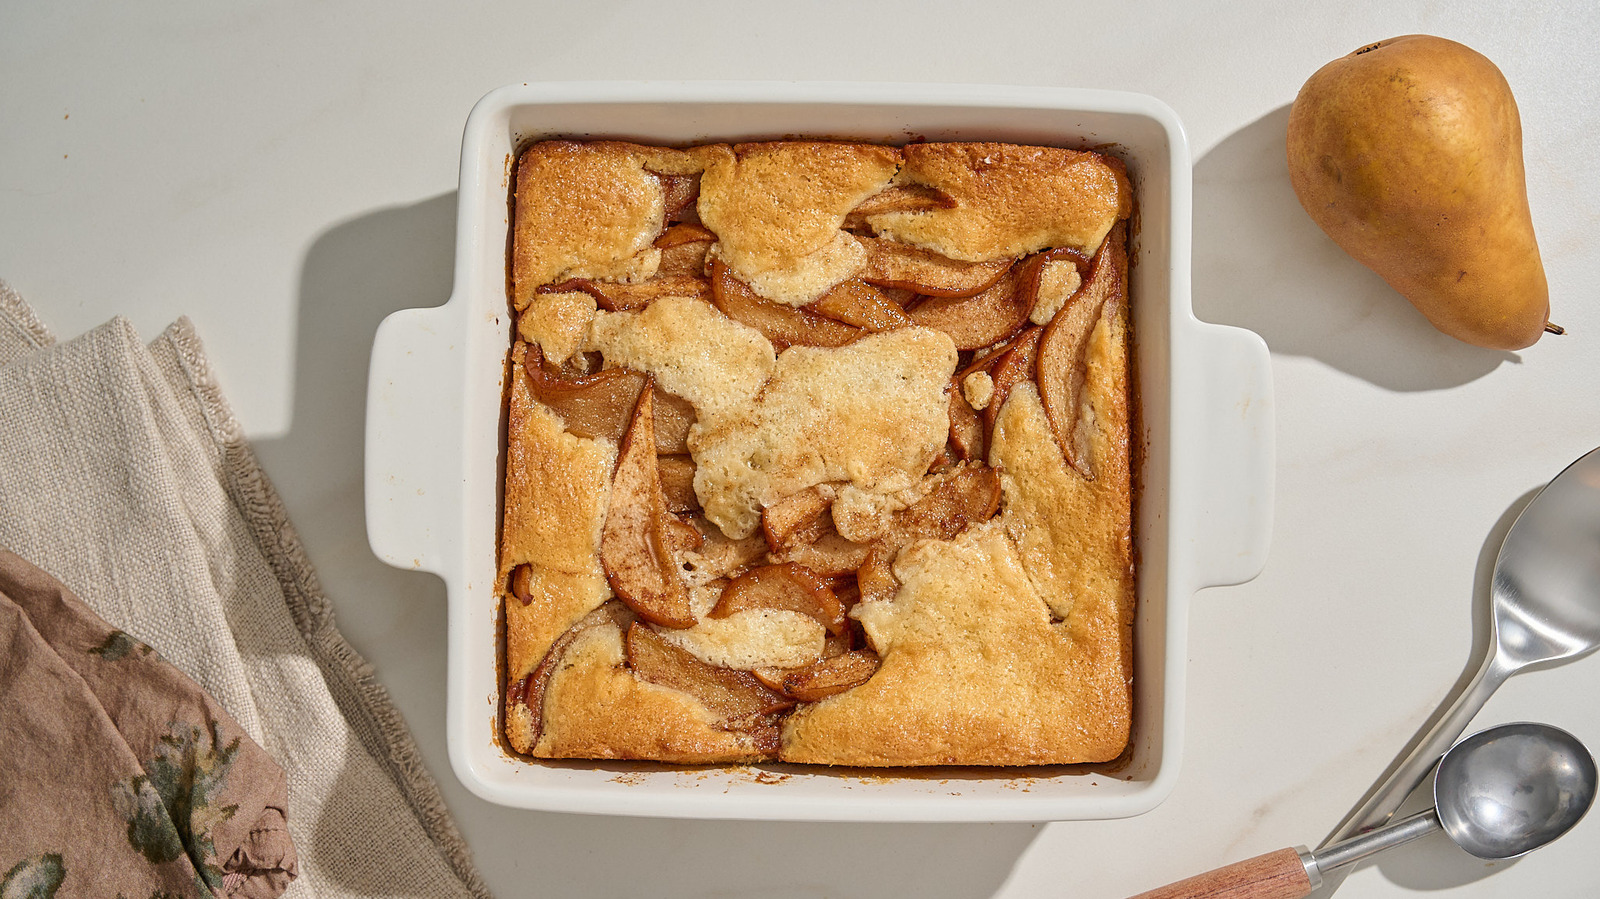
布扣布蕾與碎屑派是夏季經典的甜點,通常以甜美多汁的桃子和莓果為餡,在奶油般鬆脆的表層之下變得柔軟。布扣布蕾與碎屑派的差異在於餅皮的 topping;與碎屑派有著像屑屑的覆蓋不同,布扣布蕾是用蛋糕或小餅乾麵糊在烤製時形成不規則的表面,其質感近似於鵝卵石街道的紋理。經典版本在水果上方滴落鬆軟的餅乾麵團,另有些版本將蛋糕麵糊鋪在水果下方,烤出金黃、像磚石般的表層。兩種風格都能以最少的準備工作,襯托當季水果的甜美,因此 cobbler 成為比起較繁複的水果派更為簡單的替代選擇。
雖然秋季常以蘋果派、碎屑派(streusel)與炸圈圈為主,但天氣轉涼時仍有充足理由保留 cobbler。奶油味十足、類蛋糕的餅皮與香料溫暖的梨子完美搭配,為這款通常屬於夏日的甜點帶來秋季的風味。這一版本以簡單的麵糊作為底層,梨子上覆以糖粒,烘烤時麵糊在水果周圍隆起,形成蓬鬆的金黃外皮。與香料冰淇淋或暖和的焦糖淋醬搭配,這道既簡易又舒適的 cobbler 能最大限度地展現這季節最被低估的水果之一的風味。
The ingredients needed to make a classic pear cobbler
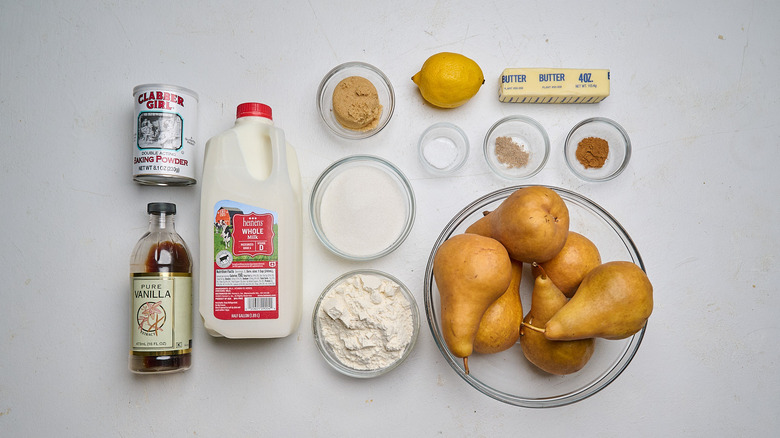
這道食譜從輕煨的梨子開始,所需的材料包括奶油、紅糖、檸檬汁、肉桂、豆蔻、以及鹽,接著是麵糊的配料,需更多奶油、麵粉、白糖、牛奶與泡打粉。
Step 1: Heat up the oven
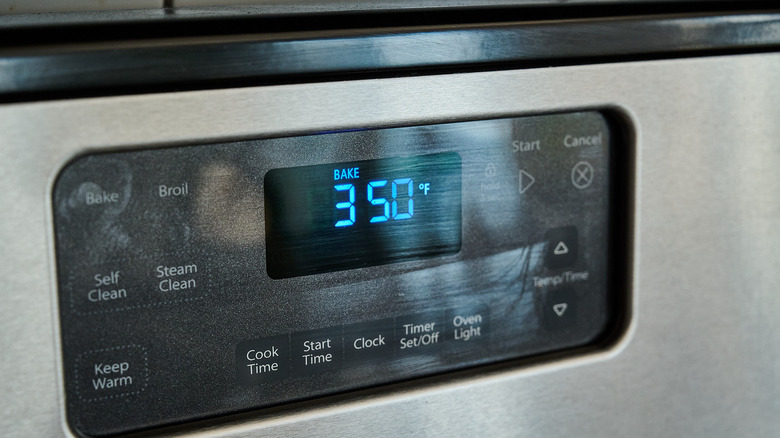
先把烤箱預熱到 350°F(約 175°C)。
Step 2: Melt the butter in a skillet
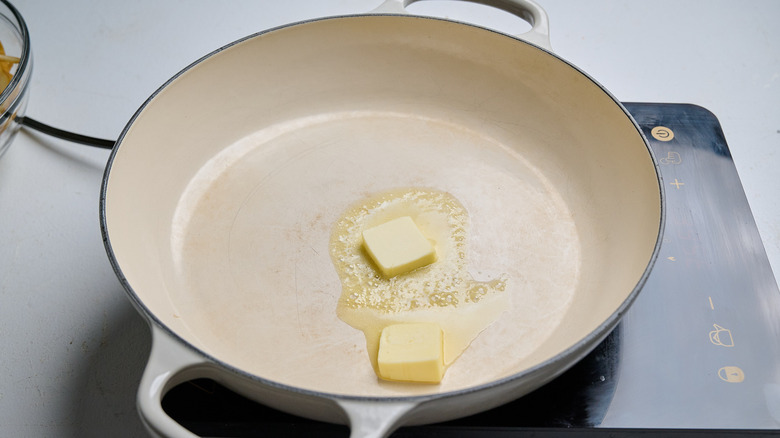
在中等火力下於大型平底鍋中融化 2 湯匙的無鹽奶油。
Step 3: Add the pears and spices
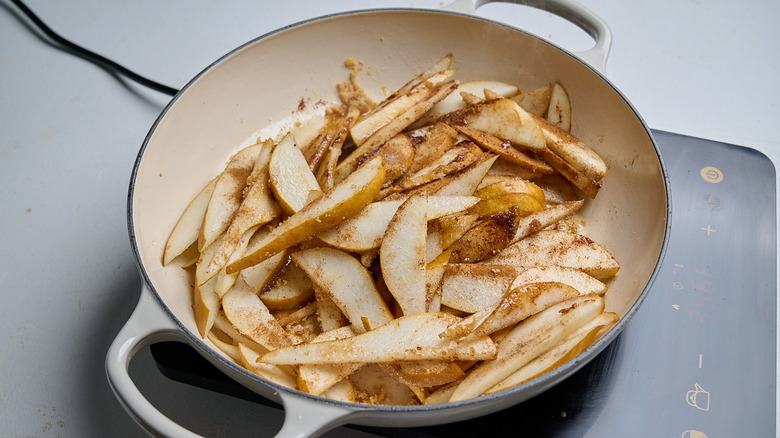
加入切片梨、紅糖、檸檬汁、肉桂、豆蔻以及鹽。
Step 4: Cook until the pears soften
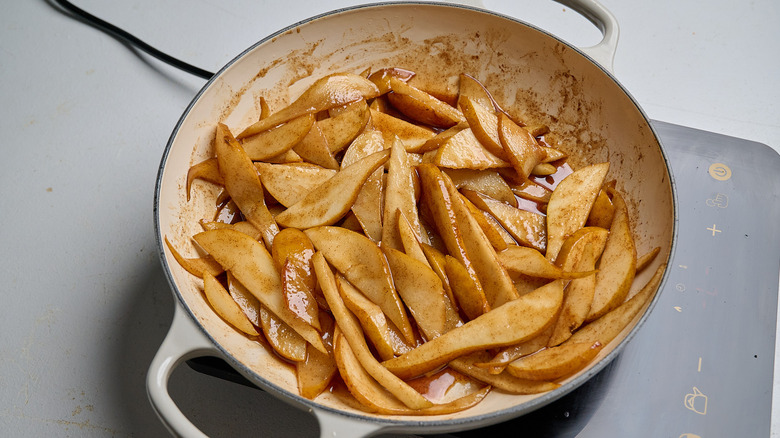
煮約 6–8 分鐘,偶爾攪拌,直到梨子開始變軟並釋放出果汁。
Step 5: Stir in the vanilla
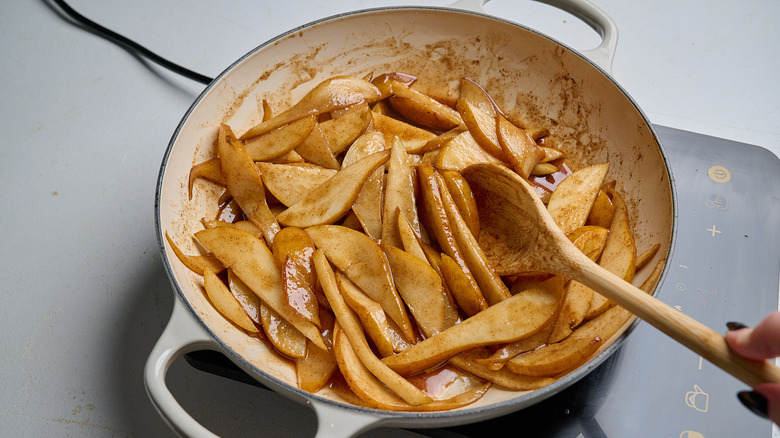
關火後加入香草精,拌勻。
Step 6: Add the remaining butter to the baking dish
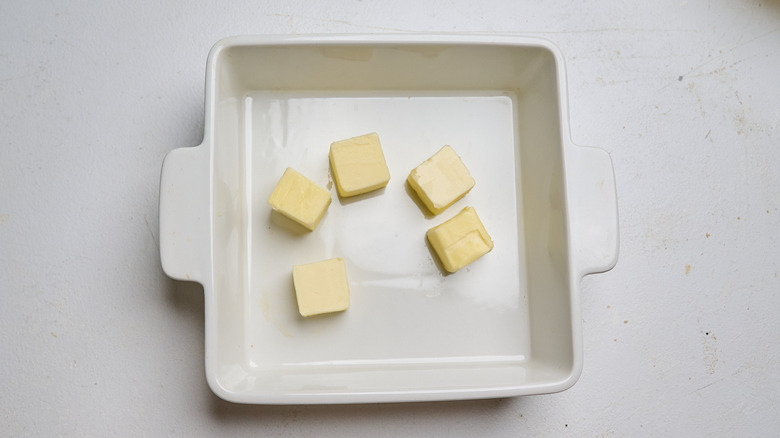
把剩下的半杯奶油放進 9×9 吋的方形烤盤中。
Step 7: Melt the butter in the oven
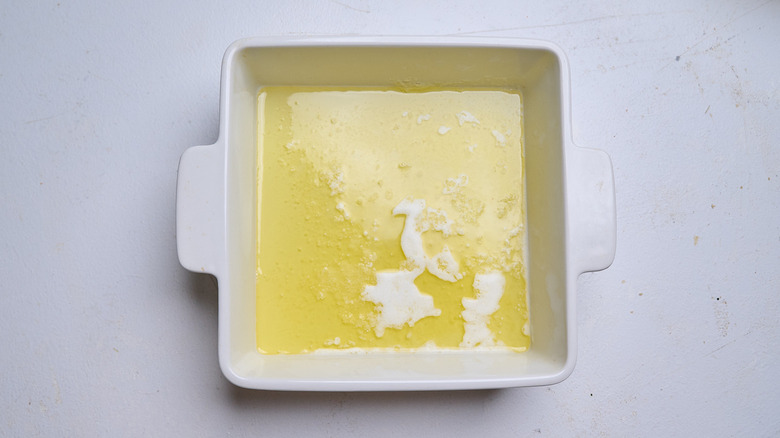
把烤盤放回烤箱,烤 3–5 分鐘直到奶油融化。小心取出。
Step 8: Combine the dry batter ingredients
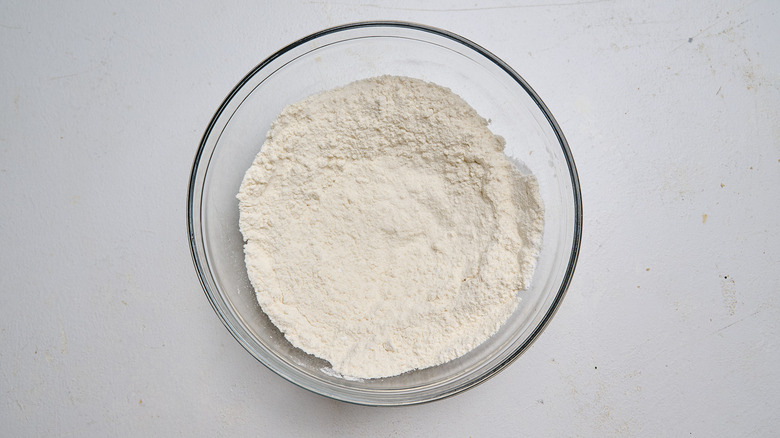
在一個大碗裡,將中筋麵粉、糖、泡打粉與鹽拌勻。
Step 9: Whisk in the wet ingredients
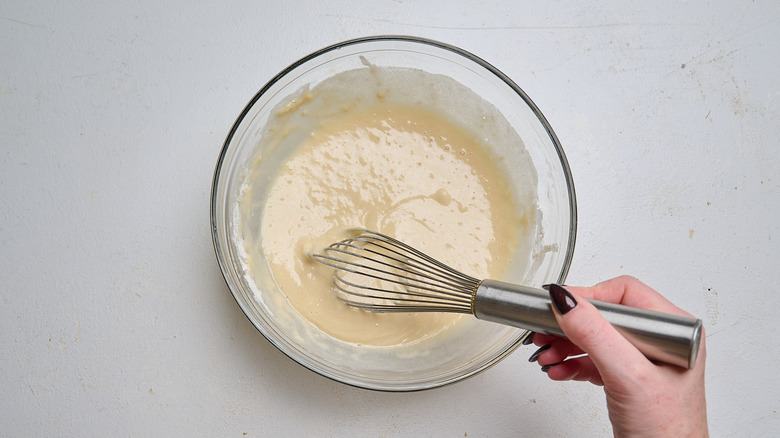
加入牛奶與香草精,攪拌至剛剛混合即可。
Step 10: Pour the batter over the butter
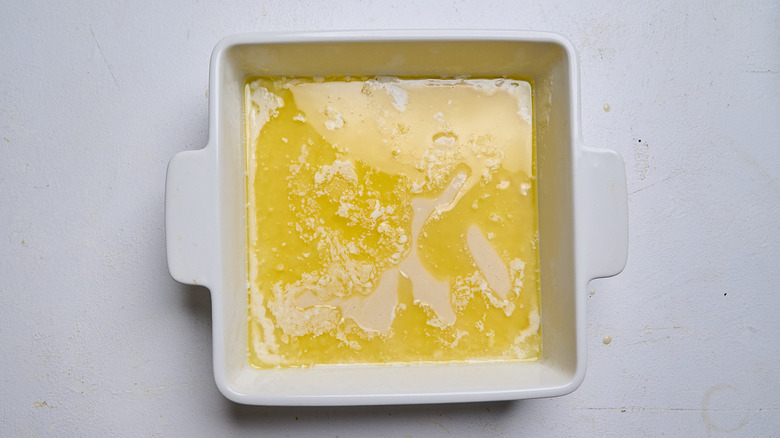
將麵糊均勻地倒在已經融化的奶油上。
Step 11: Spoon the pears over the batter
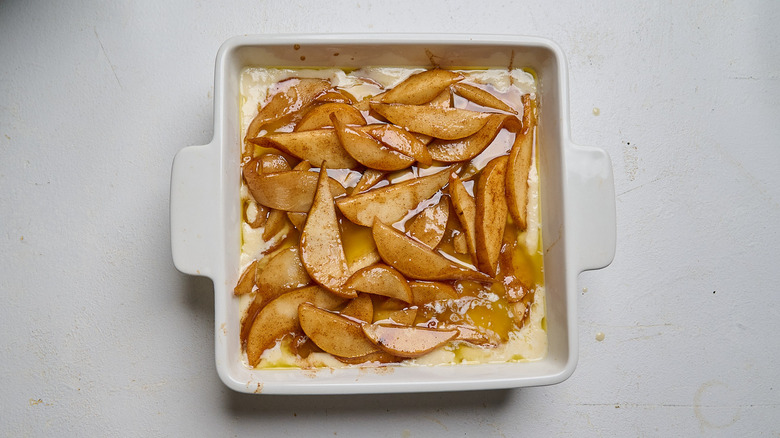
用有孔的勺子或刮刀,將溫熱的梨均勻地舀在麵糊上方。不要攪拌成糊。
Step 12: Bake until the batter is risen and set
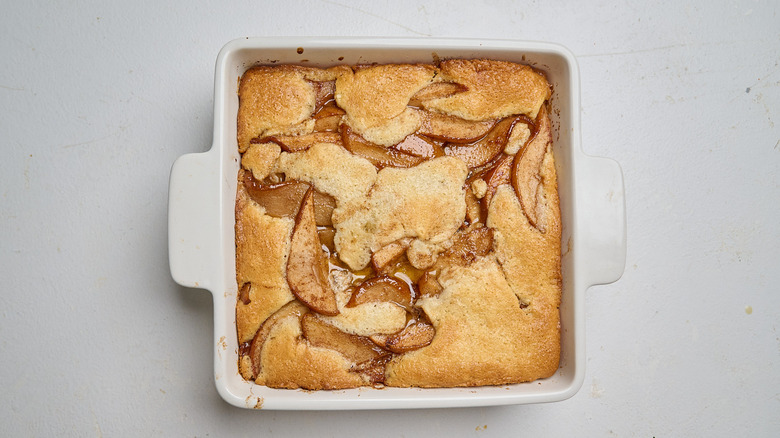
Bake for 40–50 分鐘,直到頂部呈金黃色、邊緣在沸騰、中央的麵糊定型。
Step 13: Cool and serve the cobbler
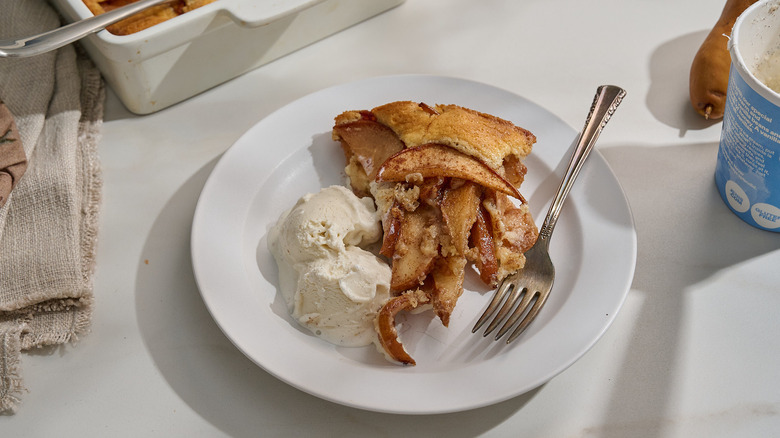
放涼約 10 分鐘後再享用。
What can I serve with cobbler?
Classic Pear Cobbler Recipe
在我們的經典梨子 cobbler 做法中,奶油般的、類蛋糕的餅皮與香料調味的梨子相得益彰,為這道舒適的甜點帶來秋日的風味。
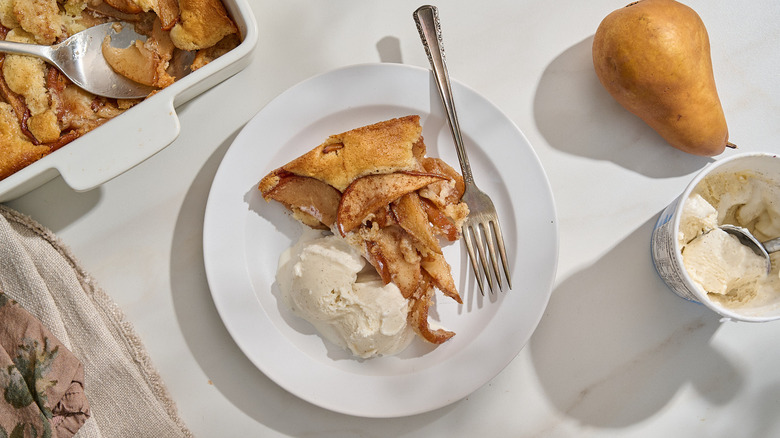
Total time: 1 hour, 5 minutes
- For the pears
- 2 tablespoons unsalted butter
- 3 medium Bosc pears, cored and sliced about ⅛-inch thick
- ⅓ cup packed light brown sugar
- 1 tablespoon fresh lemon juice
- 1 teaspoon ground cinnamon
- ¼ teaspoon ground cardamom
- ¼ teaspoon kosher salt
- 1 teaspoon vanilla extract
- For the cobbler crust
- ½ cup unsalted butter
- 1 cup all-purpose flour
- ¾ cup granulated sugar
- 2 teaspoons baking powder
- ¼ teaspoon kosher salt
- ¾ cup whole milk
- ½ teaspoon vanilla extract
- Vanilla ice cream, for serving
- Preheat the oven to 350 F.
- Melt 2 tablespoons of butter in a large skillet over medium heat.
- Add the sliced pears, brown sugar, lemon juice, cinnamon, cardamom, and salt.
- Cook for 6–8 minutes, stirring occasionally, until the pears begin to soften and release their juices.
- Turn off the heat and stir in the vanilla.
- Place the remaining ½ cup butter in a 9×9-inch square baking dish.
- Transfer to the oven for 3–5 minutes, until melted. Carefully remove.
- In a large bowl, whisk together the flour, sugar, baking powder, and salt.
- Add the milk and vanilla and whisk until just combined.
- Pour the batter evenly over the melted butter.
- Spoon the warm pears evenly over the batter with a slotted spoon or spatula. Do not mix together.
- Bake for 40–50 minutes, until the top is golden, the edges are bubbling, and the batter is set in the center.
- Let cool for 10 minutes, then serve.
| Calories per Serving | 473 |
| Total Fat | 20.5 g |
| Saturated Fat | 12.5 g |
| Trans Fat | 0.0 g |
| Cholesterol | 53.9 mg |
| Total Carbohydrates | 69.9 g |
| Dietary Fiber | 3.6 g |
| Total Sugars | 47.8 g |
| Sodium | 298.8 mg |
| Protein | 3.7 g |
此資訊為 Edamam 根據可得的食材與製作方法的估計值。它不應被視為專業營養師建議的替代品。

Why didn’t my cobbler batter rise and brown?
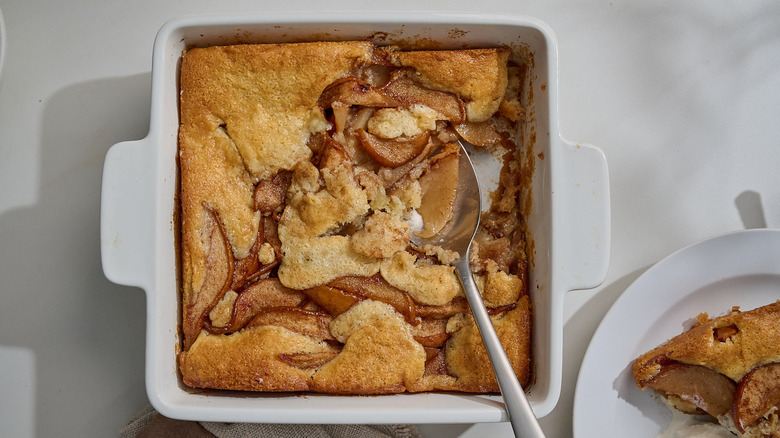
在這道食譜中把麵糊放在水果下方似乎有些反直覺,但若操作正確,麵糊會在梨子上方膨起並變色。若麵糊未膨起,呈濕潤狀,這往往是多餘水分所致。水果在烹煮時會釋出果汁,因此在入烤模前先煮熟梨子以略去多餘水分,接著用有孔的勺子或刮刀把梨子撈出,讓多餘水分留在平底鍋中。你完全可以把這些糖漿留著使用於其他用途,或之後再淋在 cobbler 上也行。
另外,使用恰當數量的梨子讓麵糊能在上方膨起也很重要。烘焙過程中麵糊大約會膨起約 1 1/2 吋,因此把梨子鋪成約 1 吋高的均勻層,能確保麵糊有機會穿透水果表層。不必害怕梨子之間留出縫隙,這會讓麵糊更容易膨起於它們之間。如果麵糊膨起但中間仍未呈現金黃色,請把烤盤留在烤箱中,覆蓋邊緣以讓中間完成烘烤。
Why do I have to cook the pears first for a cobbler?
先煮梨子再放入 cobbler,能幫助梨子在入焙前軟化並發展出風味。與快速在烤箱中變軟的桃子或莓果不同,梨子因較硬的質地需要額外的直接熱度幾分鐘。否則,可能會過度烘烤像蛋糕般的麵糊,導致 cobbler 變得艱硬甚至焦黑。與糖、檸檬和香料一起煮梨,可激發梨子的天然果汁,並帶來近乎焦糖般的甜香與辛香味,製成一種醬汁,增添風味層次,提升風味較為清淡的水果。
如上所述,此步驟亦有助於控制 cobbler 中的液體量。梨子不需要完全軟化再放入烤箱,因此先煮至半熟左右、釋出約 2 湯匙的果汁即可。