
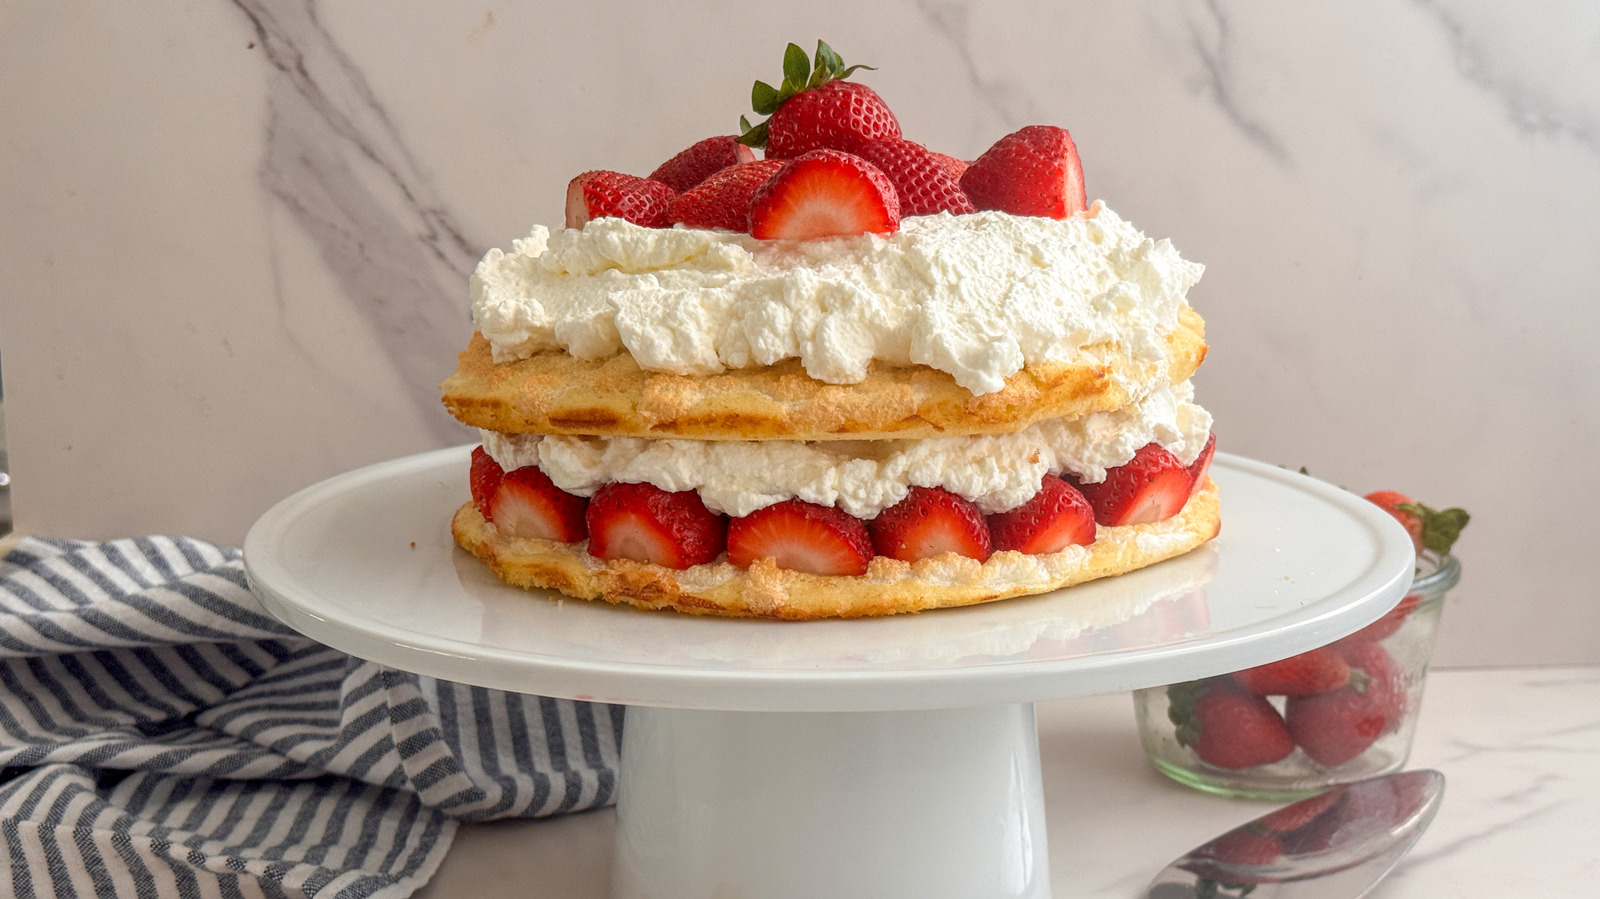
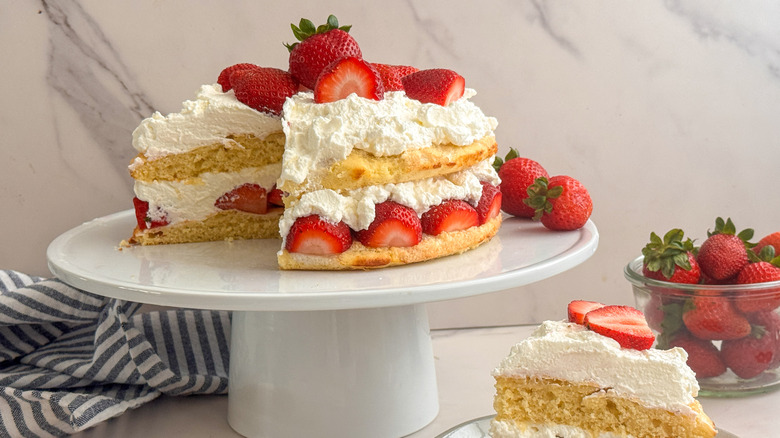
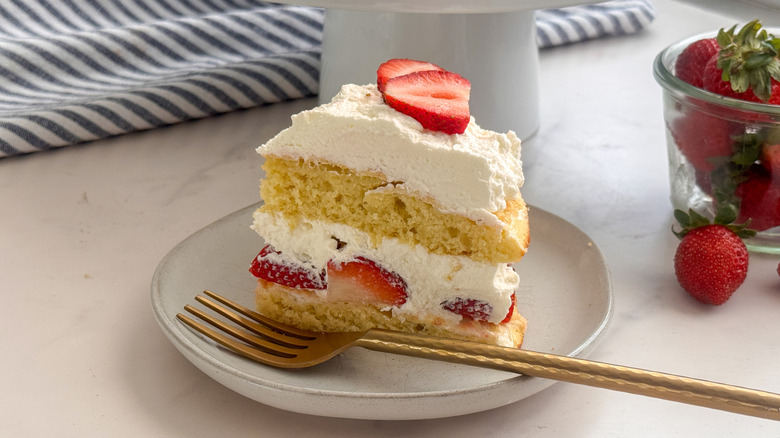
想像一下咬下層層柔軟輕盈的蛋糕,配上多汁甜美的草莓與恰到好處的鮮奶油。這款多層蛋糕兼具高雅與簡潔的風格,光是看著就像是外傳高檔麵包店的作品。讓這款多層蛋糕與眾不同之處,在於在烘焙前就會在簡單的蛋糕糊上薄薄地覆蓋一層蛋白霜。它為口感增添微微的脆感,同時讓蛋糕層更穩固,能支撐多汁的草莓切片與大量的現打鮮奶油。令人驚訝的是,整個組裝過程不到一小時,步驟簡單,並不需要特殊的烘焙技巧。
食譜開發者米利亞姆·漢說:「雖然你可以使用立式攪拌機來做這道菜,但手持攪拌機也能輕鬆完成。如果你想提前做好大蛋糕,先在前一天烤好蛋糕,並在上桌前組裝草莓與奶油層。」一旦組裝完成,你就會得到一個光鮮、清新且適合在夏日聚會上端上桌的秒殺甜點。
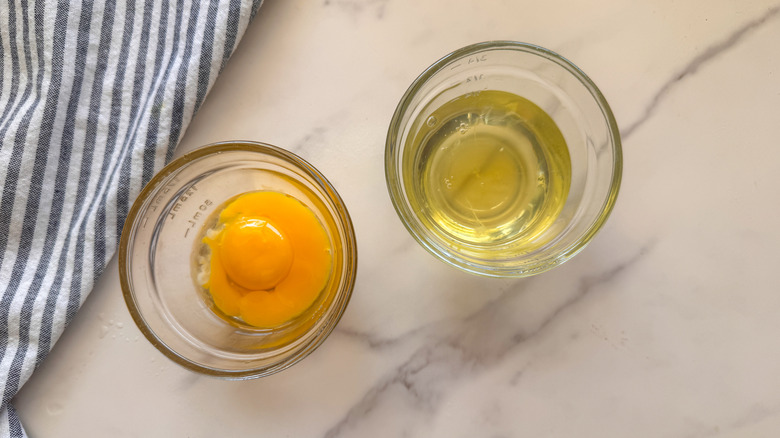
Gather the ingredients for strawberries and cream torte
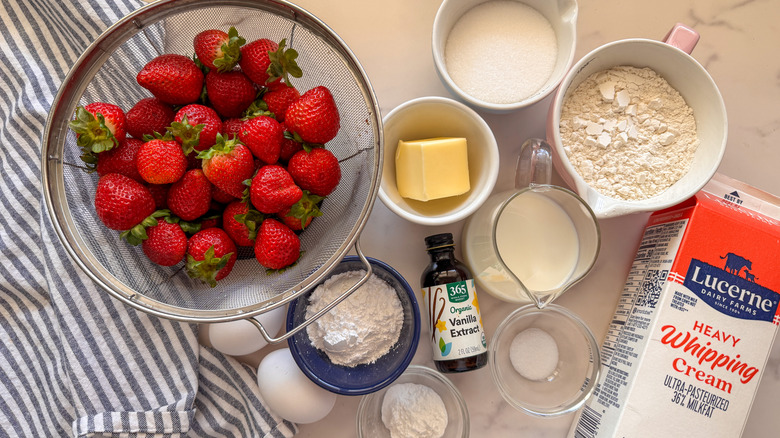
為了這道食譜,先從蔬果區挑選最新鮮的草莓。如果條件允許,最好在你要做這道甜點的當天購買草莓,若是前幾天購買,也可參考保持草莓新鮮的小技巧。接著去乳製品櫃檯挑選雞蛋、奶油、全脂牛奶與鮮奶油。然後檢查烘焙用品區,準備糖、香草精、普遍麵粉、泡打粉、鹽與糖粉。
Step 1: Preheat the oven
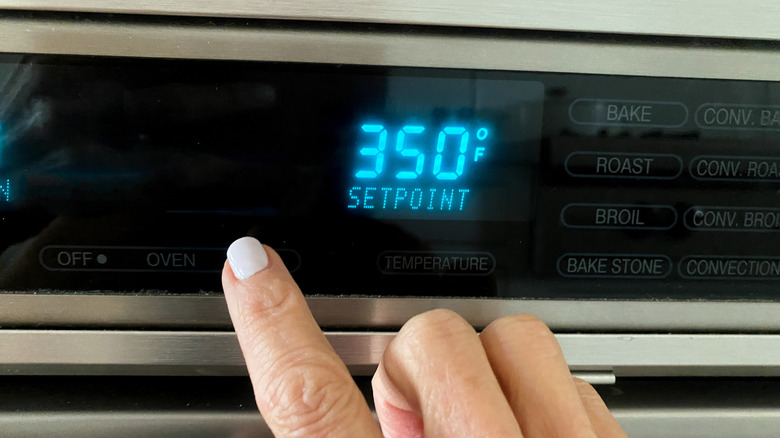
預熱烤箱至 350°F(約攝氏175°C)。
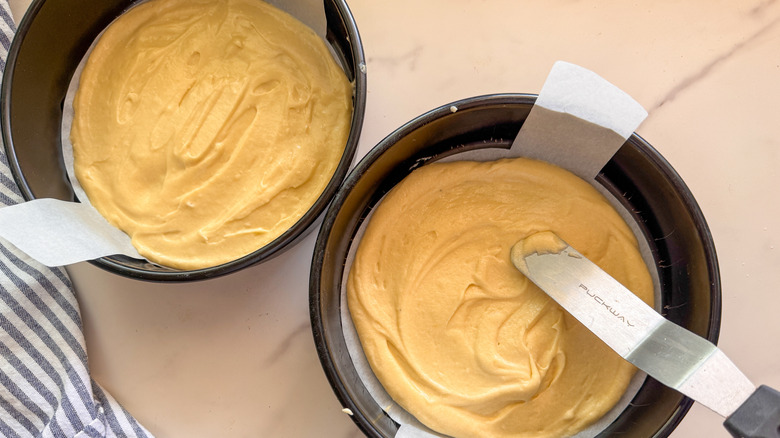
Step 2: Line cake pans
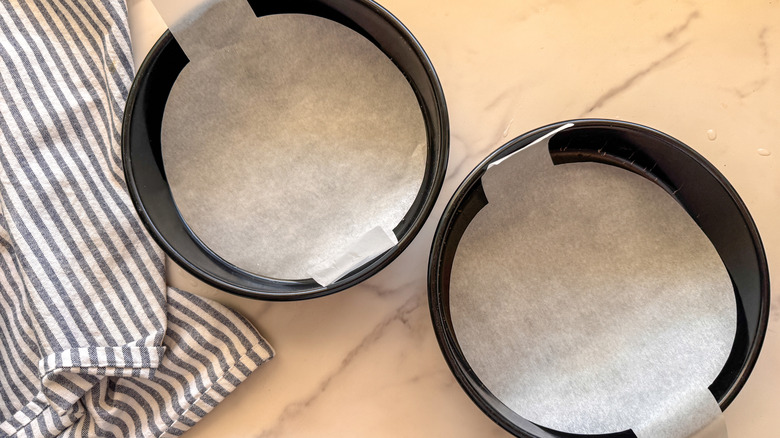
在兩個 8 吋的蛋糕模底部各自放入羊皮紙。
Step 3: Let the egg whites come to room temperature
將蛋白分離,並讓蛋白在室溫下回溫約 30 分鐘。
Step 4: Combine the butter and sugar
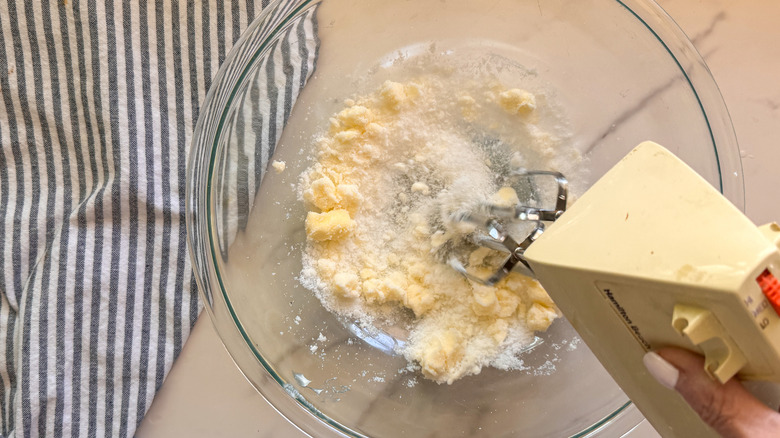
當蛋白在室溫回溫時,將奶油與 ½ 杯糖用打蛋機打至至少 3 分鐘以上。
Step 5: Add the egg yolks and vanilla
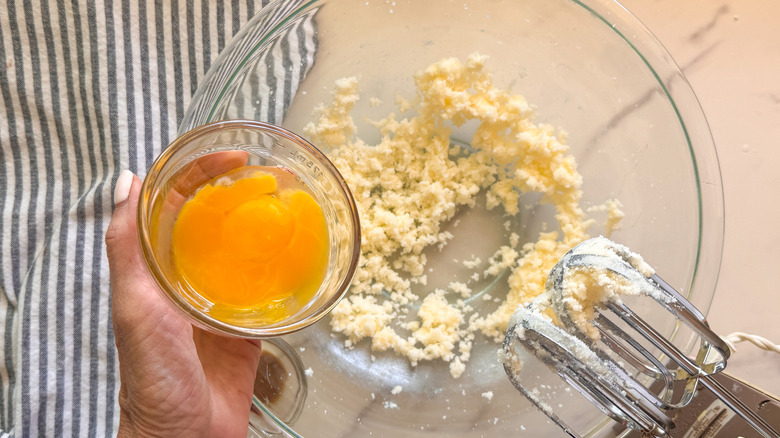
加入蛋黃與香草精,並再次攪打以混合。
Step 6: Combine the dry ingredients
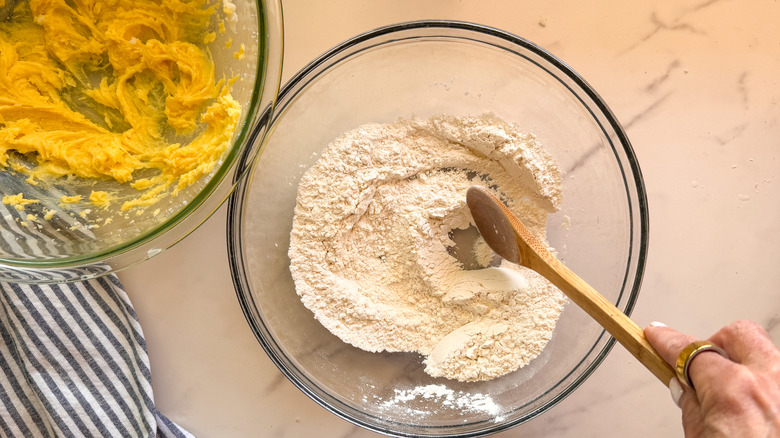
在中碗中混合麵粉、泡打粉與鹽,備用。
Step 7: Combine the wet and dry ingredients
將乾料與牛奶慢慢加入濕料中,一次加入少量,邊拌邊混合均勻。
Step 8: Transfer to baking pans
將麵糊轉入烤模中。
Step 9: Make the meringue
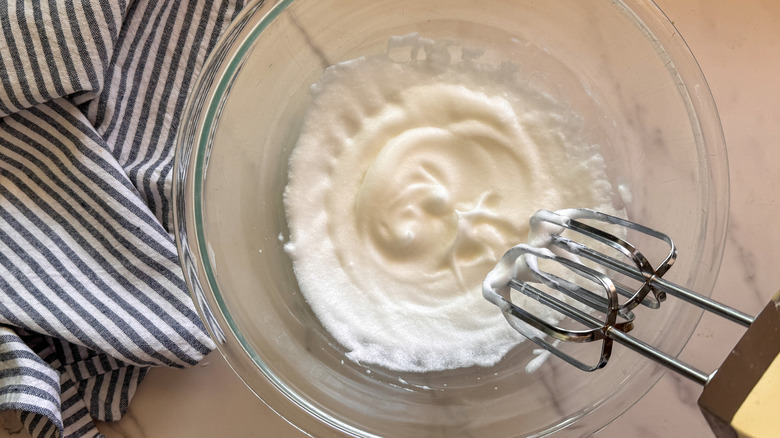
將蛋白與剩餘的糖放入乾淨的大碗中,使用乾淨的攪拌器攪打約 3 分鐘,直到形成軟性尖峰。
Step 10: Spread the meringue over the batter
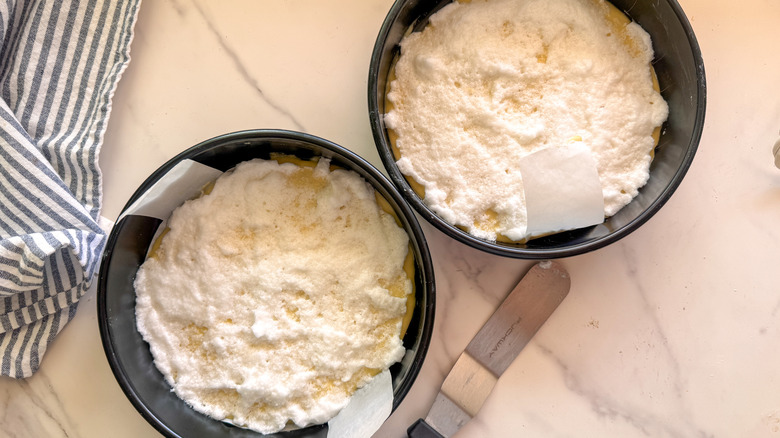
把這層混合物均勻鋪在每個蛋糕糊的最上方。
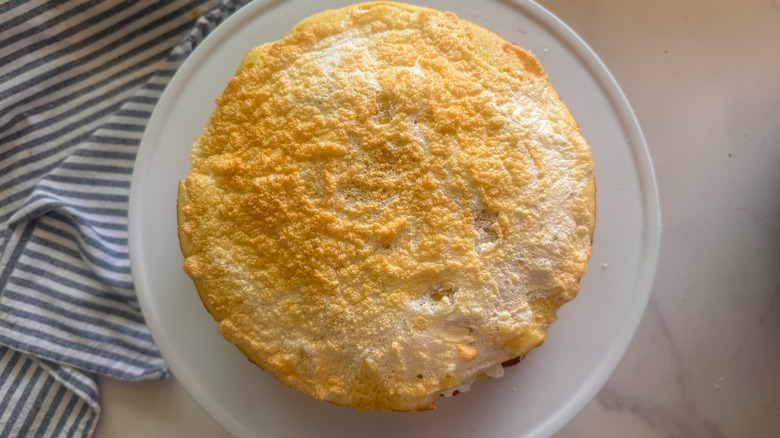
Step 11: Bake the cakes
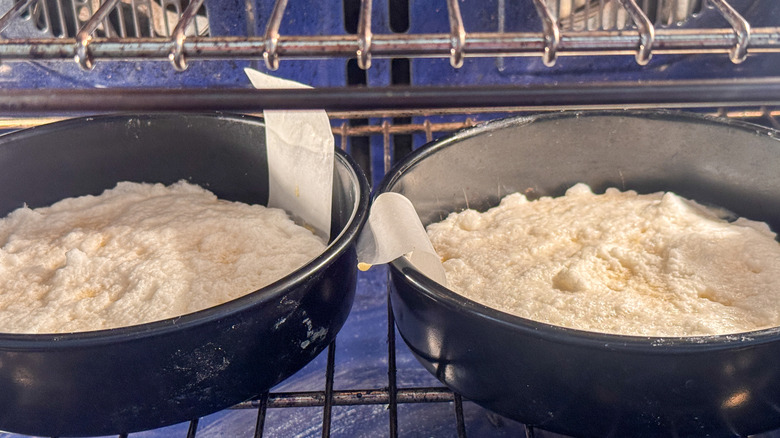
烘烤 12-15 分鐘,直到表面呈金黃並且牙籤拔出時乾淨(蛋糕並不會長很高)。
Step 12: Cool the cakes

讓蛋糕冷却約 30 分鐘。
Step 13: Freeze a metal bowl
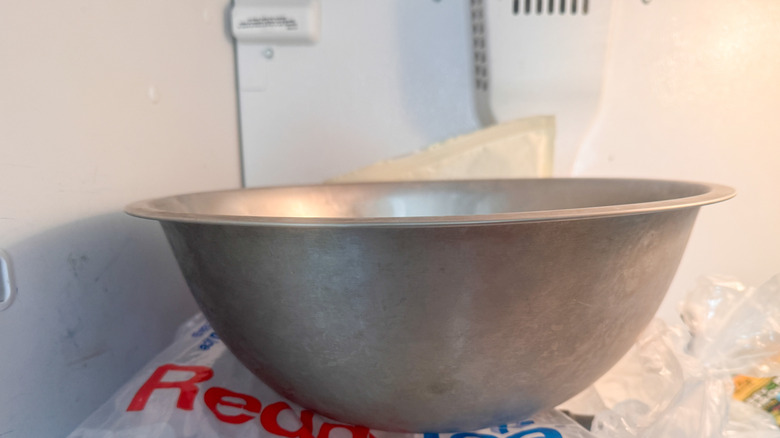
在蛋糕冷卻時,將金屬碗放入冷凍庫以便打發奶油時使用。
Step 14: Cut the strawberries
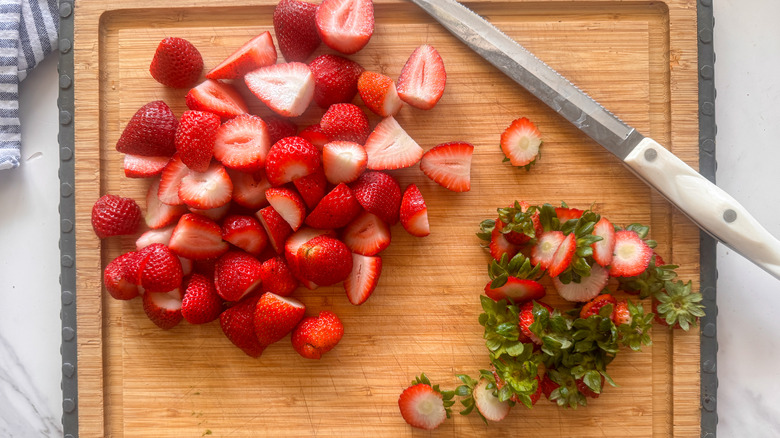
將草莓切半或切片。
Step 15: Beat the cream
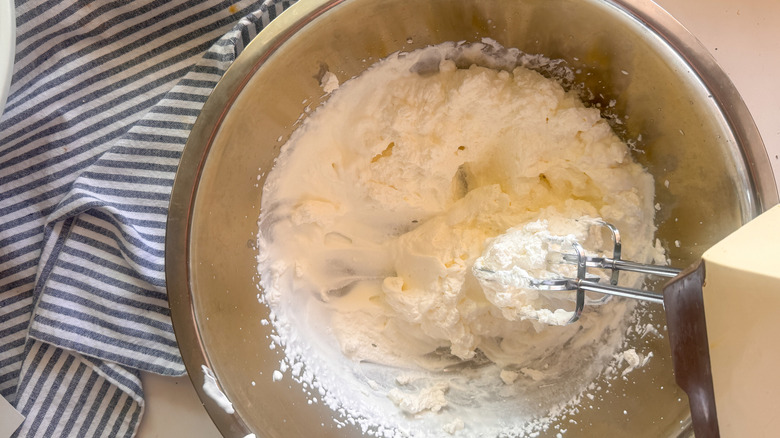
把奶油與糖粉大約打發 3-4 分鐘,直到形成硬性角尖。
Step 16: Add some strawberries
把其中一層蛋糕放在餐盤上,鋪上一層草莓。
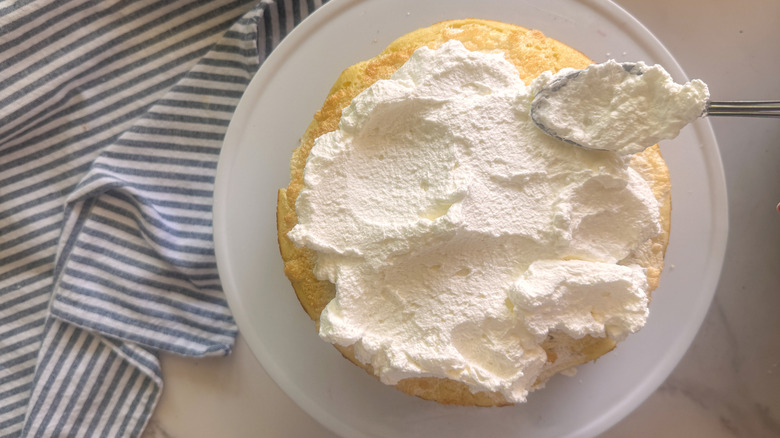
Step 17: Add a layer of whipped cream
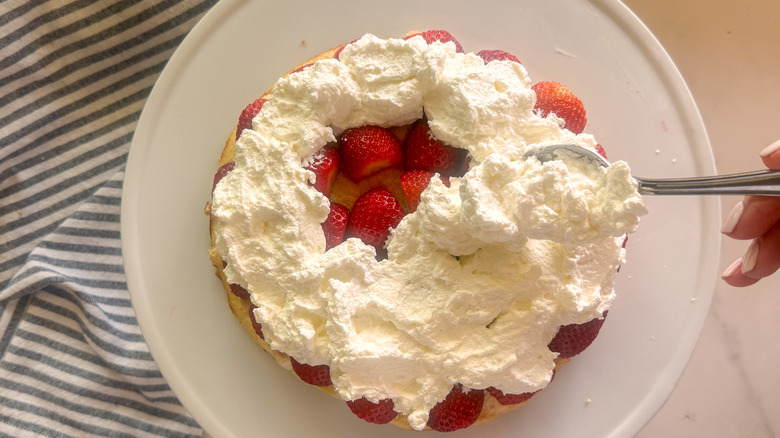
現在再加上一層鮮奶油。
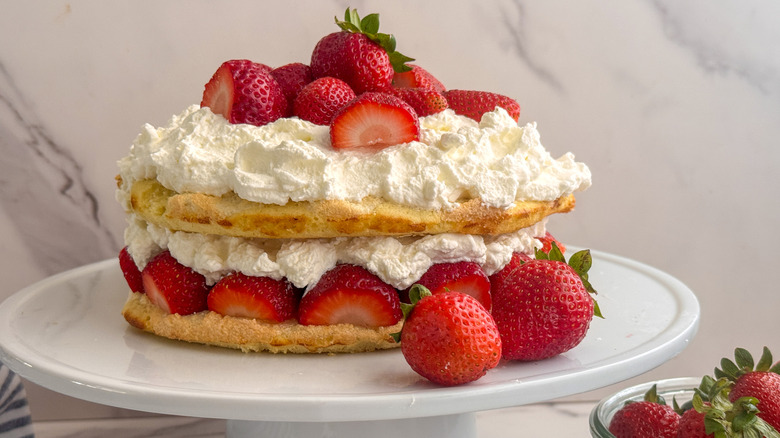
Step 18: Add another cake layer
加入第二層蛋糕。
Step 19: Add whipped cream
用剩餘的鮮奶油抹整個表面。
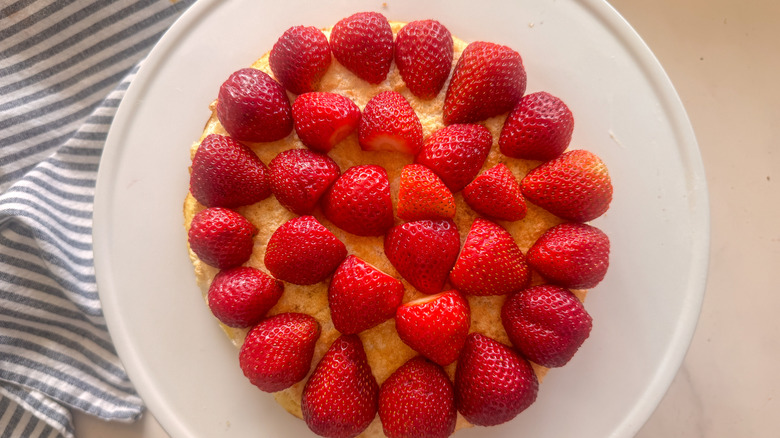
Step 20: Add more strawberries and serve

再以草莓裝飾,切片後上桌享用。
What pairs well with strawberry torte?
Strawberries And Cream Torte Recipe
我們的草莓奶油大蛋糕是一道簡單卻典雅的創作,藉由新鮮草莓、堆疊的鮮奶油,以及一層隱藏的蛋白霜層所組成。
Total time: 1 hour, 27 minutes
- For the torte layers
- 2 large eggs
- ¼ cup softened butter
- ½ cup + ½ teaspoon sugar, divided
- 1 teaspoon vanilla extract
- 1 cup all-purpose flour
- 1 ½ teaspoons baking powder
- ¼ teaspoon salt
- ½ cup whole milk
- 1 pint halved or sliced strawberries
- For the whipped cream
- 2 cups heavy whipping cream, cold
- ¼ cup powdered sugar
- Preheat the oven to 350 F.
- Line two 8-inch cake pans with parchment paper.
- Separate the eggs and let the egg whites come to room temperature for 30 minutes.
- While the egg whites reach room temperature, combine the butter and ½ cup sugar with a beater for at least 3 minutes.
- Add the egg yolks and vanilla and beat again to blend.
- In a medium bowl, combine the flour, baking powder, and salt.
- Add the dry ingredients and the milk to the wet ingredients, adding a small amount of each at a time, and beating to blend.
- Transfer the batter to the baking pans.
- Add the egg whites and remaining sugar to a clean large bowl and beat with clean beaters for about 3 minutes until soft peaks form.
- Spread this mixture over the top of the cake batter in each pan.
- Bake for 12-15 minutes until the top is golden and a toothpick comes out clean (they won’t rise very much)
- Cool the cakes for 30 minutes.
- While the cakes are cooling, put a metal bowl in the freezer for the whipped cream.
- Halve or slice the strawberries.
- Beat the cream and powdered sugar for about 3-4 minutes until stiff peaks form.
- Add one of the cakes to a serving plate, and add a layer of strawberries.
- Now add a layer of the whipped cream.
- Add the second cake layer.
- Spread with the remaining whipped cream.
- Top with strawberries, slice, and serve
| Calories per Serving | 417 |
| Total Fat | 29.2 g |
| Saturated Fat | 18.0 g |
| Trans Fat | 0.7 g |
| Cholesterol | 130.5 mg |
| Total Carbohydrates | 34.6 g |
| Dietary Fiber | 1.3 g |
| Total Sugars | 21.3 g |
| Sodium | 183.0 mg |
| Protein | 5.7 g |
The information shown is Edamam’s estimate based on available ingredients and preparation. It should not be considered a substitute for a professional nutritionist’s advice.

What are some tips for making the strawberry torte?
這道食譜本身並不難,但掌握一些實用技巧能確保草莓奶油大蛋糕完美呈現。首先,奶油霜的打發要使用室溫的蛋白,讓它們更容易打出理想的泡沫;此外,軟化奶油也很重要。如果你忘了先把奶油從冰箱拿出,可用這個快速軟化的技巧。你在整個步驟中會使用手動打蛋器 3 次,注意在每次操作之間要清潔攪拌頭,殘留的油脂或糖霜會影響下一步。請記住,蛋糕層要做薄薄的一層,不要因為想讓它長高而延長烘烤時間。用牙籤在 12 分鐘時確認,若牙籤拔出時乾淨就表示可以出爐。
另一個小撇步是,打發鮮奶油時最好使用金屬碗,因為冷卻時碗內的金屬會保留低溫。如果你沒有金屬碗,玻璃碗也是不錯的替代。若你想嘗試其他打發奶油的方法,還有幾種選擇,但有時候最簡單的方式反而最有效。在組裝時,務必讓草莓盡量乾燥,避免讓蛋糕變得濕軟。建議在距離上桌時間越近越好地完成整個組裝。
What are ways to change up the torte with different fillings and fruit?
一旦你完成這款美麗的奶油草莓大蛋糕,你可能會想嘗試以不同內餡與水果的版本。除了草莓之外,可以試試覆盆子、藍莓或黑莓等莓果,甚至混合三種(或四種)莓果以成莓果綜合風味。另一種選擇是使用切片的桃子或油桃。若想走熱帶風格,切片芒果與奇異果會與撰絲椰絲的裝飾搭配得很美。
為了增添甜香,在蛋糕表層先薄薄塗上一層果醬或蜜果醬,在新鮮水果上再鋪。類似地,在蛋糕上薄薄地抹上融化的巧克力,也是豐富且奢華的選擇。若想為口味增添明亮的氣息,可以在麵糊或水果層中加入橙皮屑或檸檬皮屑。
鮮奶油方面也有多種變化。若想讓風味更加豐富,可以加入一茶匙香草精或杏仁精。甚至可以加入一茶匙或兩茶匙波本酒,使甜點帶有微微酒香。
